Preface
This bed is is a fun project that I built to be cool. If you just want a projector in your bed the easiest thing is to just project onto your wall.
Takeaways
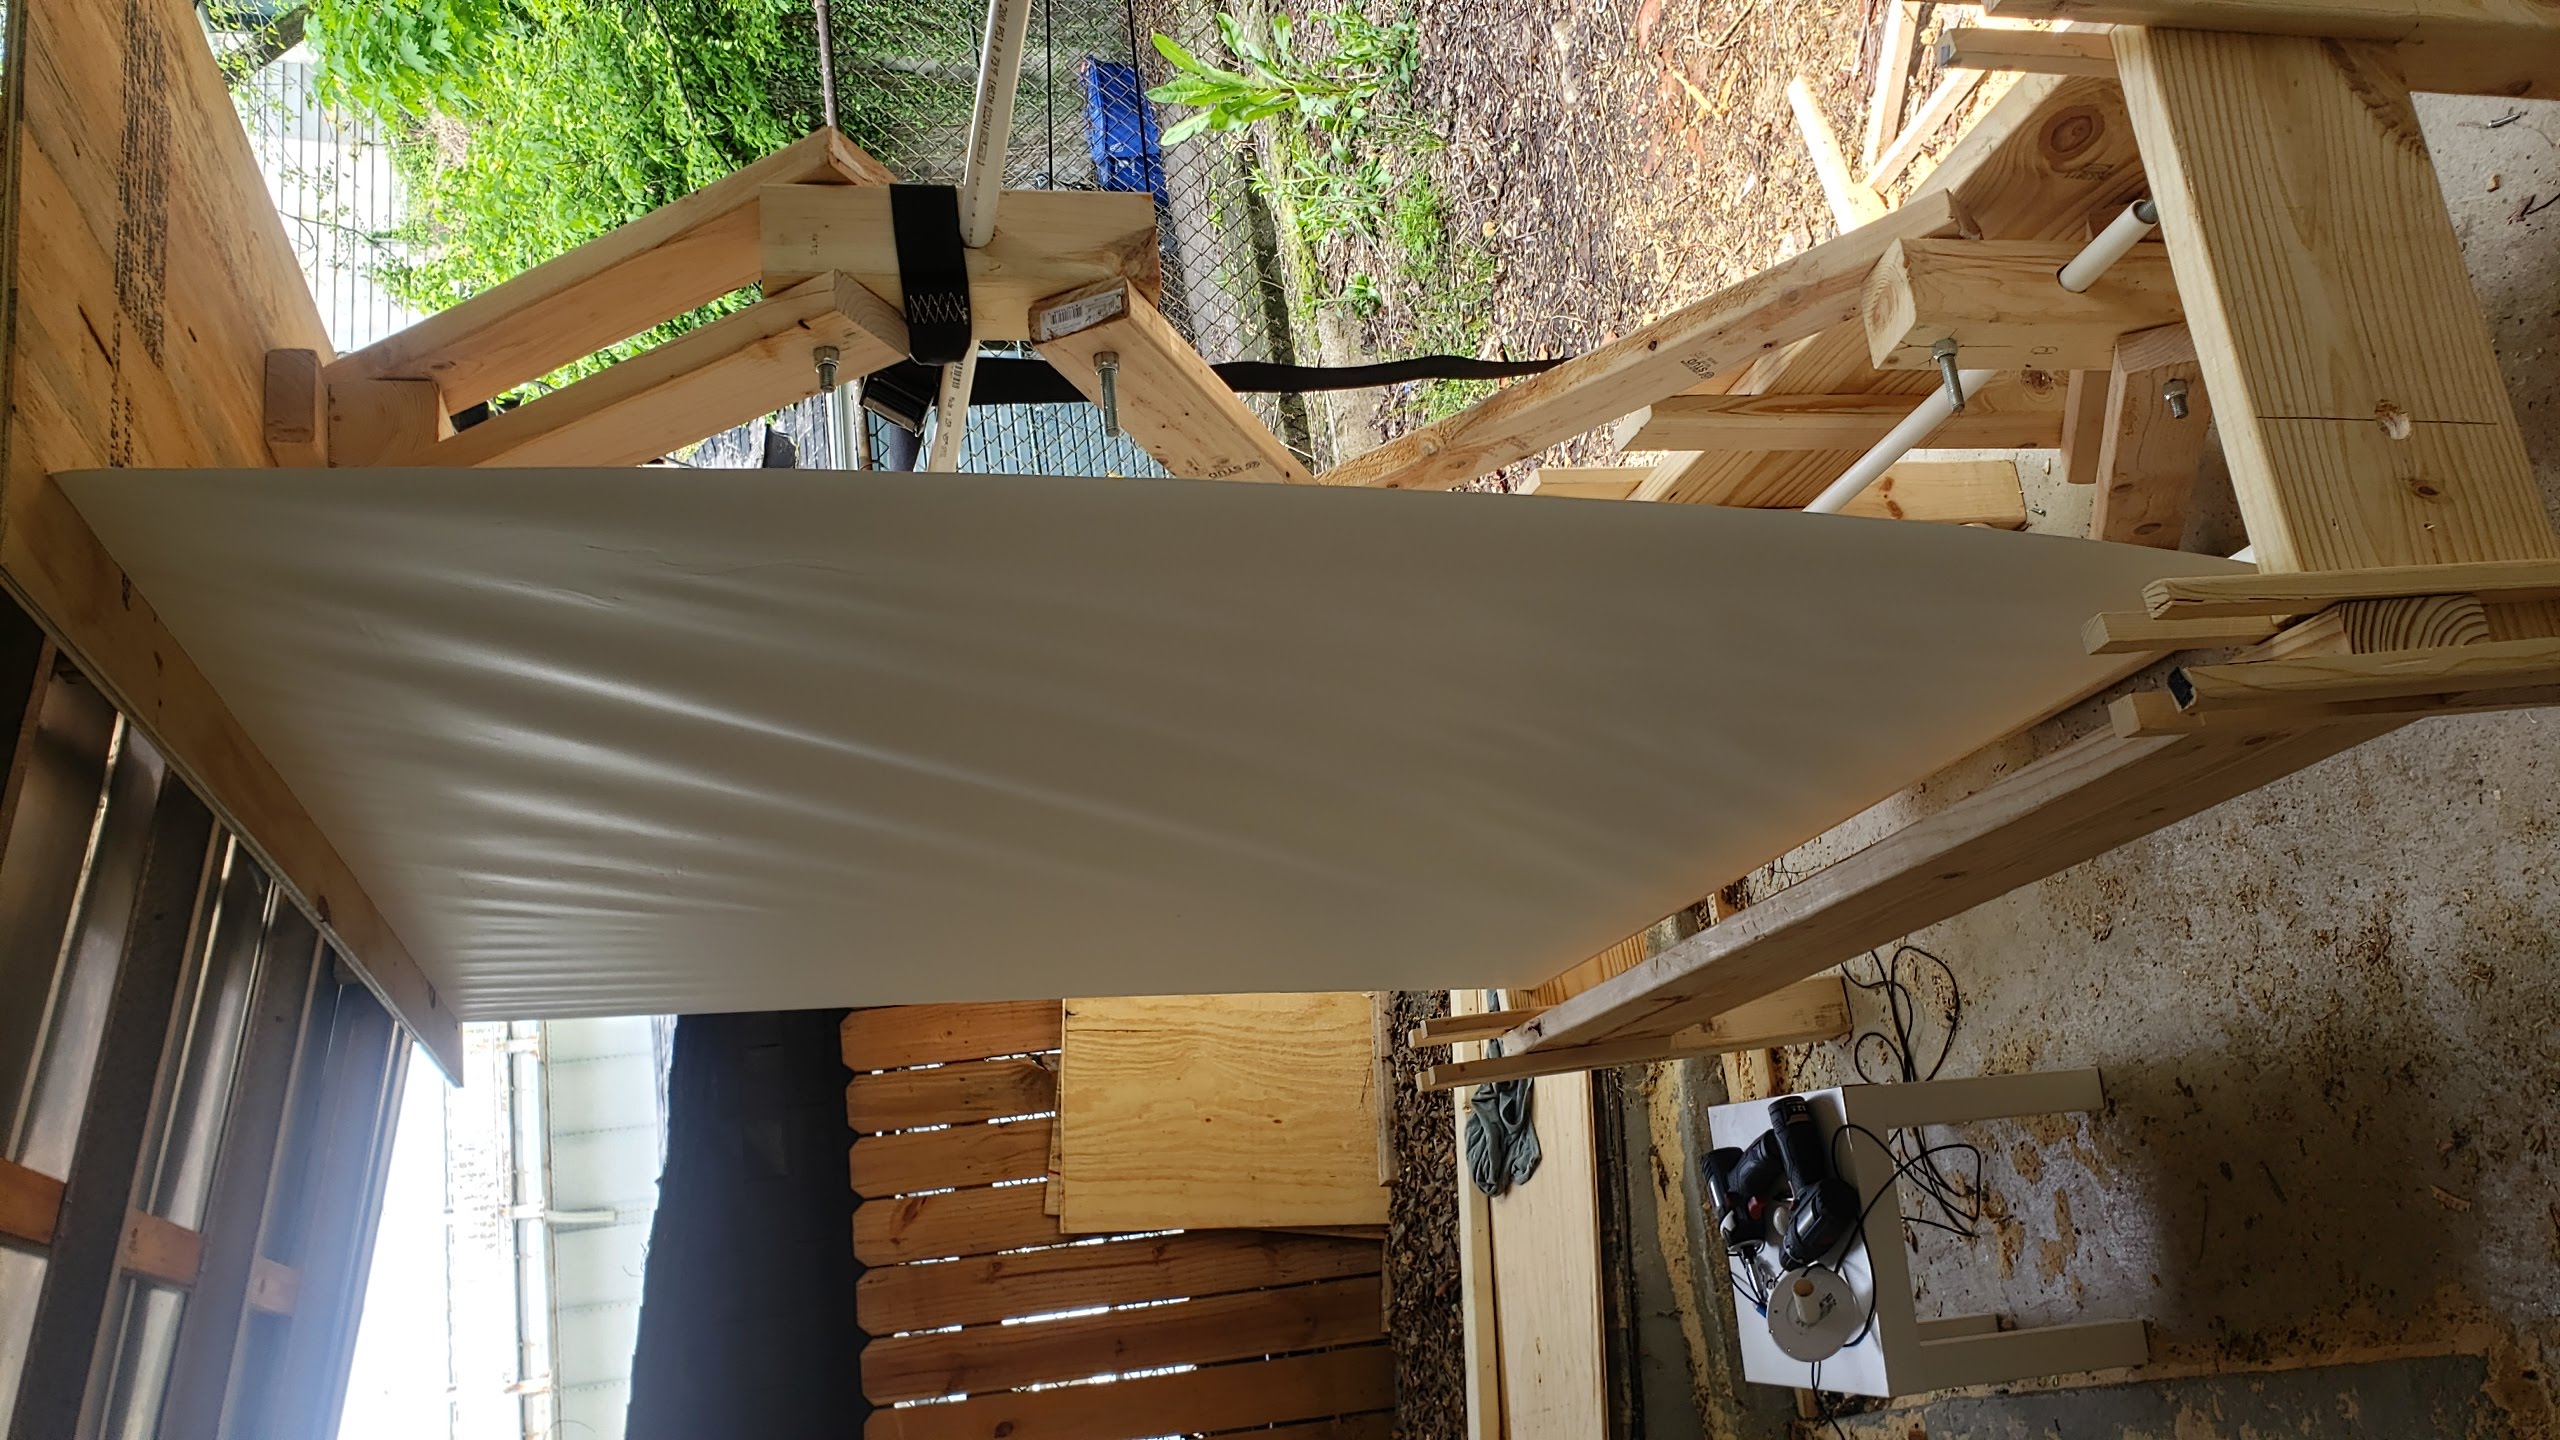
- A roll up window shade makes a pretty good projector screen and they’ll cut it to length at the big box store. The only issue is keeping it flat, but that maters less here cause you’re viewing it pretty much straight on.
- A bedframe that doesn’t move is so comfy, if you wanna build a bedframe overbuild it.
- Rear projection works pretty well on the window shade.
CAD
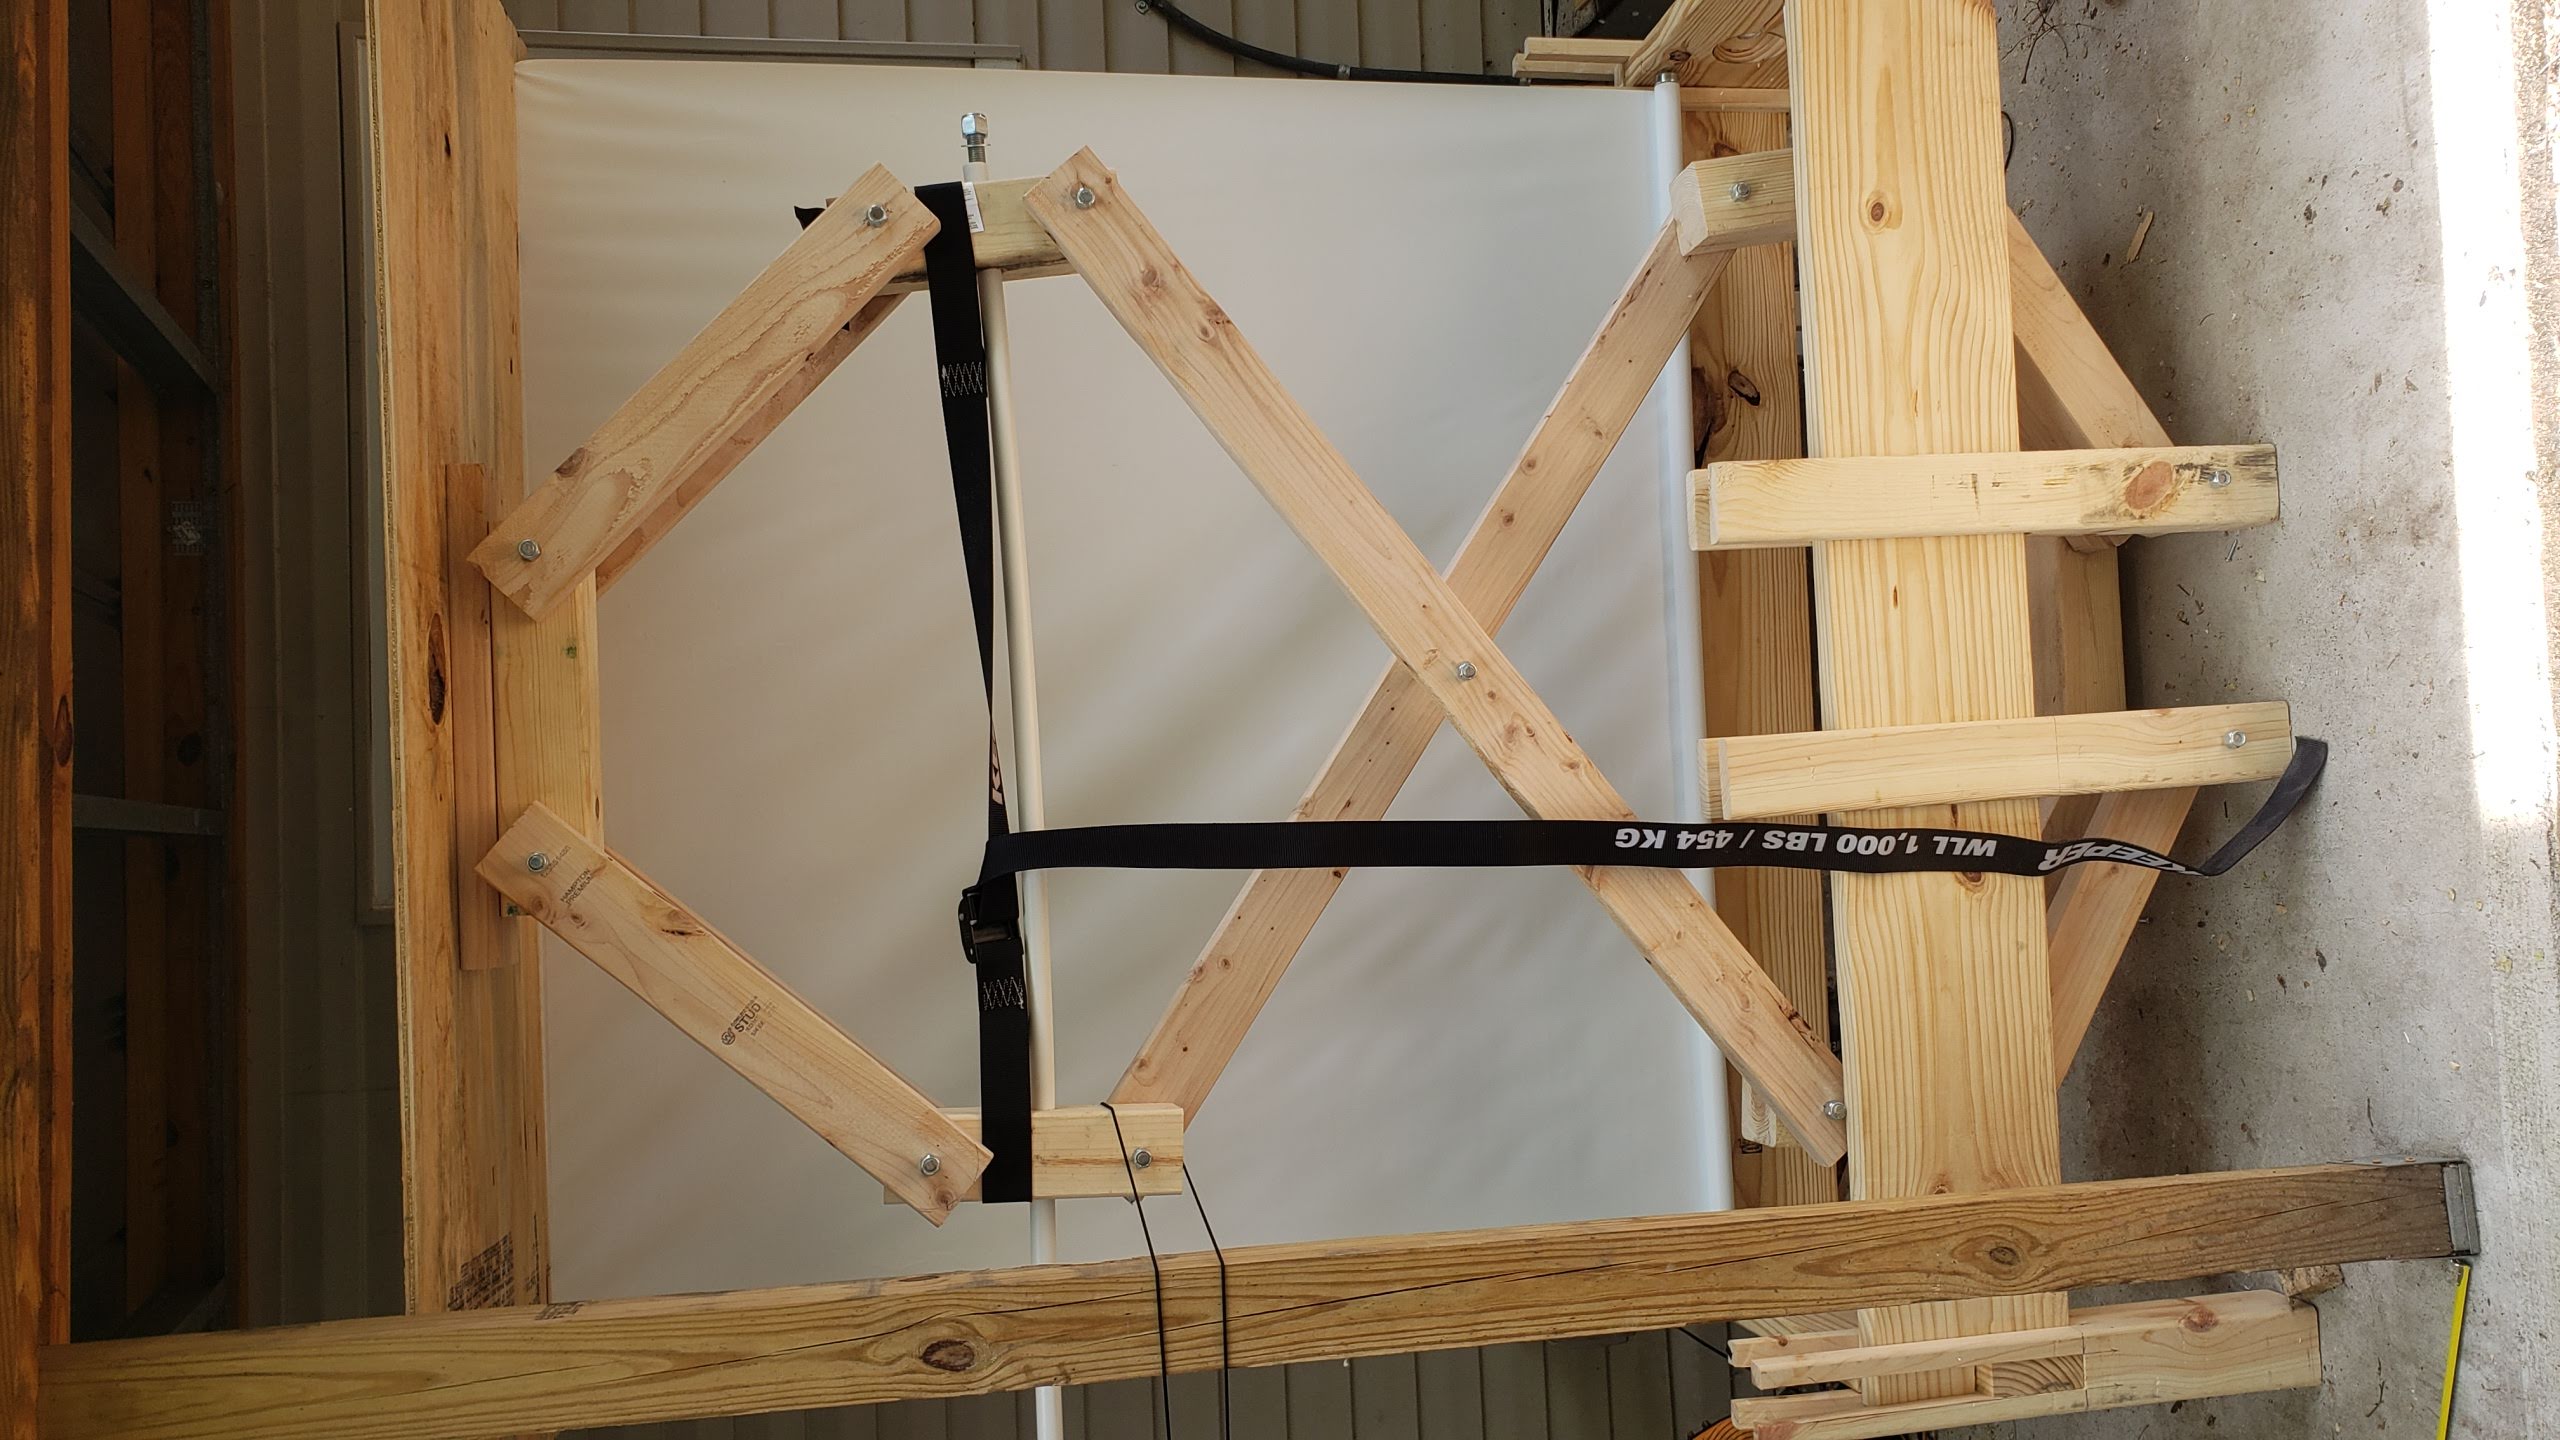
The first step I take in building anything is hopping into CAD. So to start I whipped up a few models until they passed the gut test. I always thought a scissor lift would be cool but I was torn on material. My first thought was aluminum Tubing/Angle iron, mostly for weight. None of those metal models felt right in CAD which is a surprisingly good barometer for how good a a project will turn out.
Tools
I started off this project with just a hand drill so I had to keep in mind what tools I’d build all my parts with. The tools I designed for and ended up buying were:
Power Tools
- Miter saw
- Skill saw
- Router
- Palm sander
Hand Tools
- Chisel set
- Hammer (I genuinely didn’t have one)
- Clamping tables
- Hand clamps
- Hack saw
- Wrenches
- PVC cutter
- Hand plane
Board list
| L | W | Thickness | Wood type | Board Type | Count |
|---|---|---|---|---|---|
| 103”+ | 9.25” | 1” | Red Oak | 9.25x1 Red Oak | 2 |
| 66”+ | 9.25” | 1” | Red Oak | 9.25x1 Red Oak | 3 |
| 88”+ | 5.5” | 1” | Red Oak | 5.5x1 Red Oak | 2 |
| 111”+ | 3” | 1” | Red Oak | 3x1 Red Oak | 2 |
| 108”+ | 3” | 1” | Red Oak | 3x1 Red Oak | 8 |
| 62”+ | 3” | 1” | Poplar | 3x1 Poplar | 12 |
| 80”+ | 3” | 1” | Poplar | 3x1 Poplar | 2 |
| 4’ | 8’ | .25” | Red Oak | 0.25 Plywood | 1 |
Cut list
All parts Drawings If you cut your longest piece possible out of each board and it’s scraps you’ll cut optimally and have enough wood. The “SLAT” and “SIDESUPPOURT” pieces (Look in Part number on the parts list of the pages) are made of poplar everything else is red oak. There’s more details you’d need if you wanted to build this (but I doubt anyone will), feel free to reach out and I’d be happy to help/send cad.
Screen
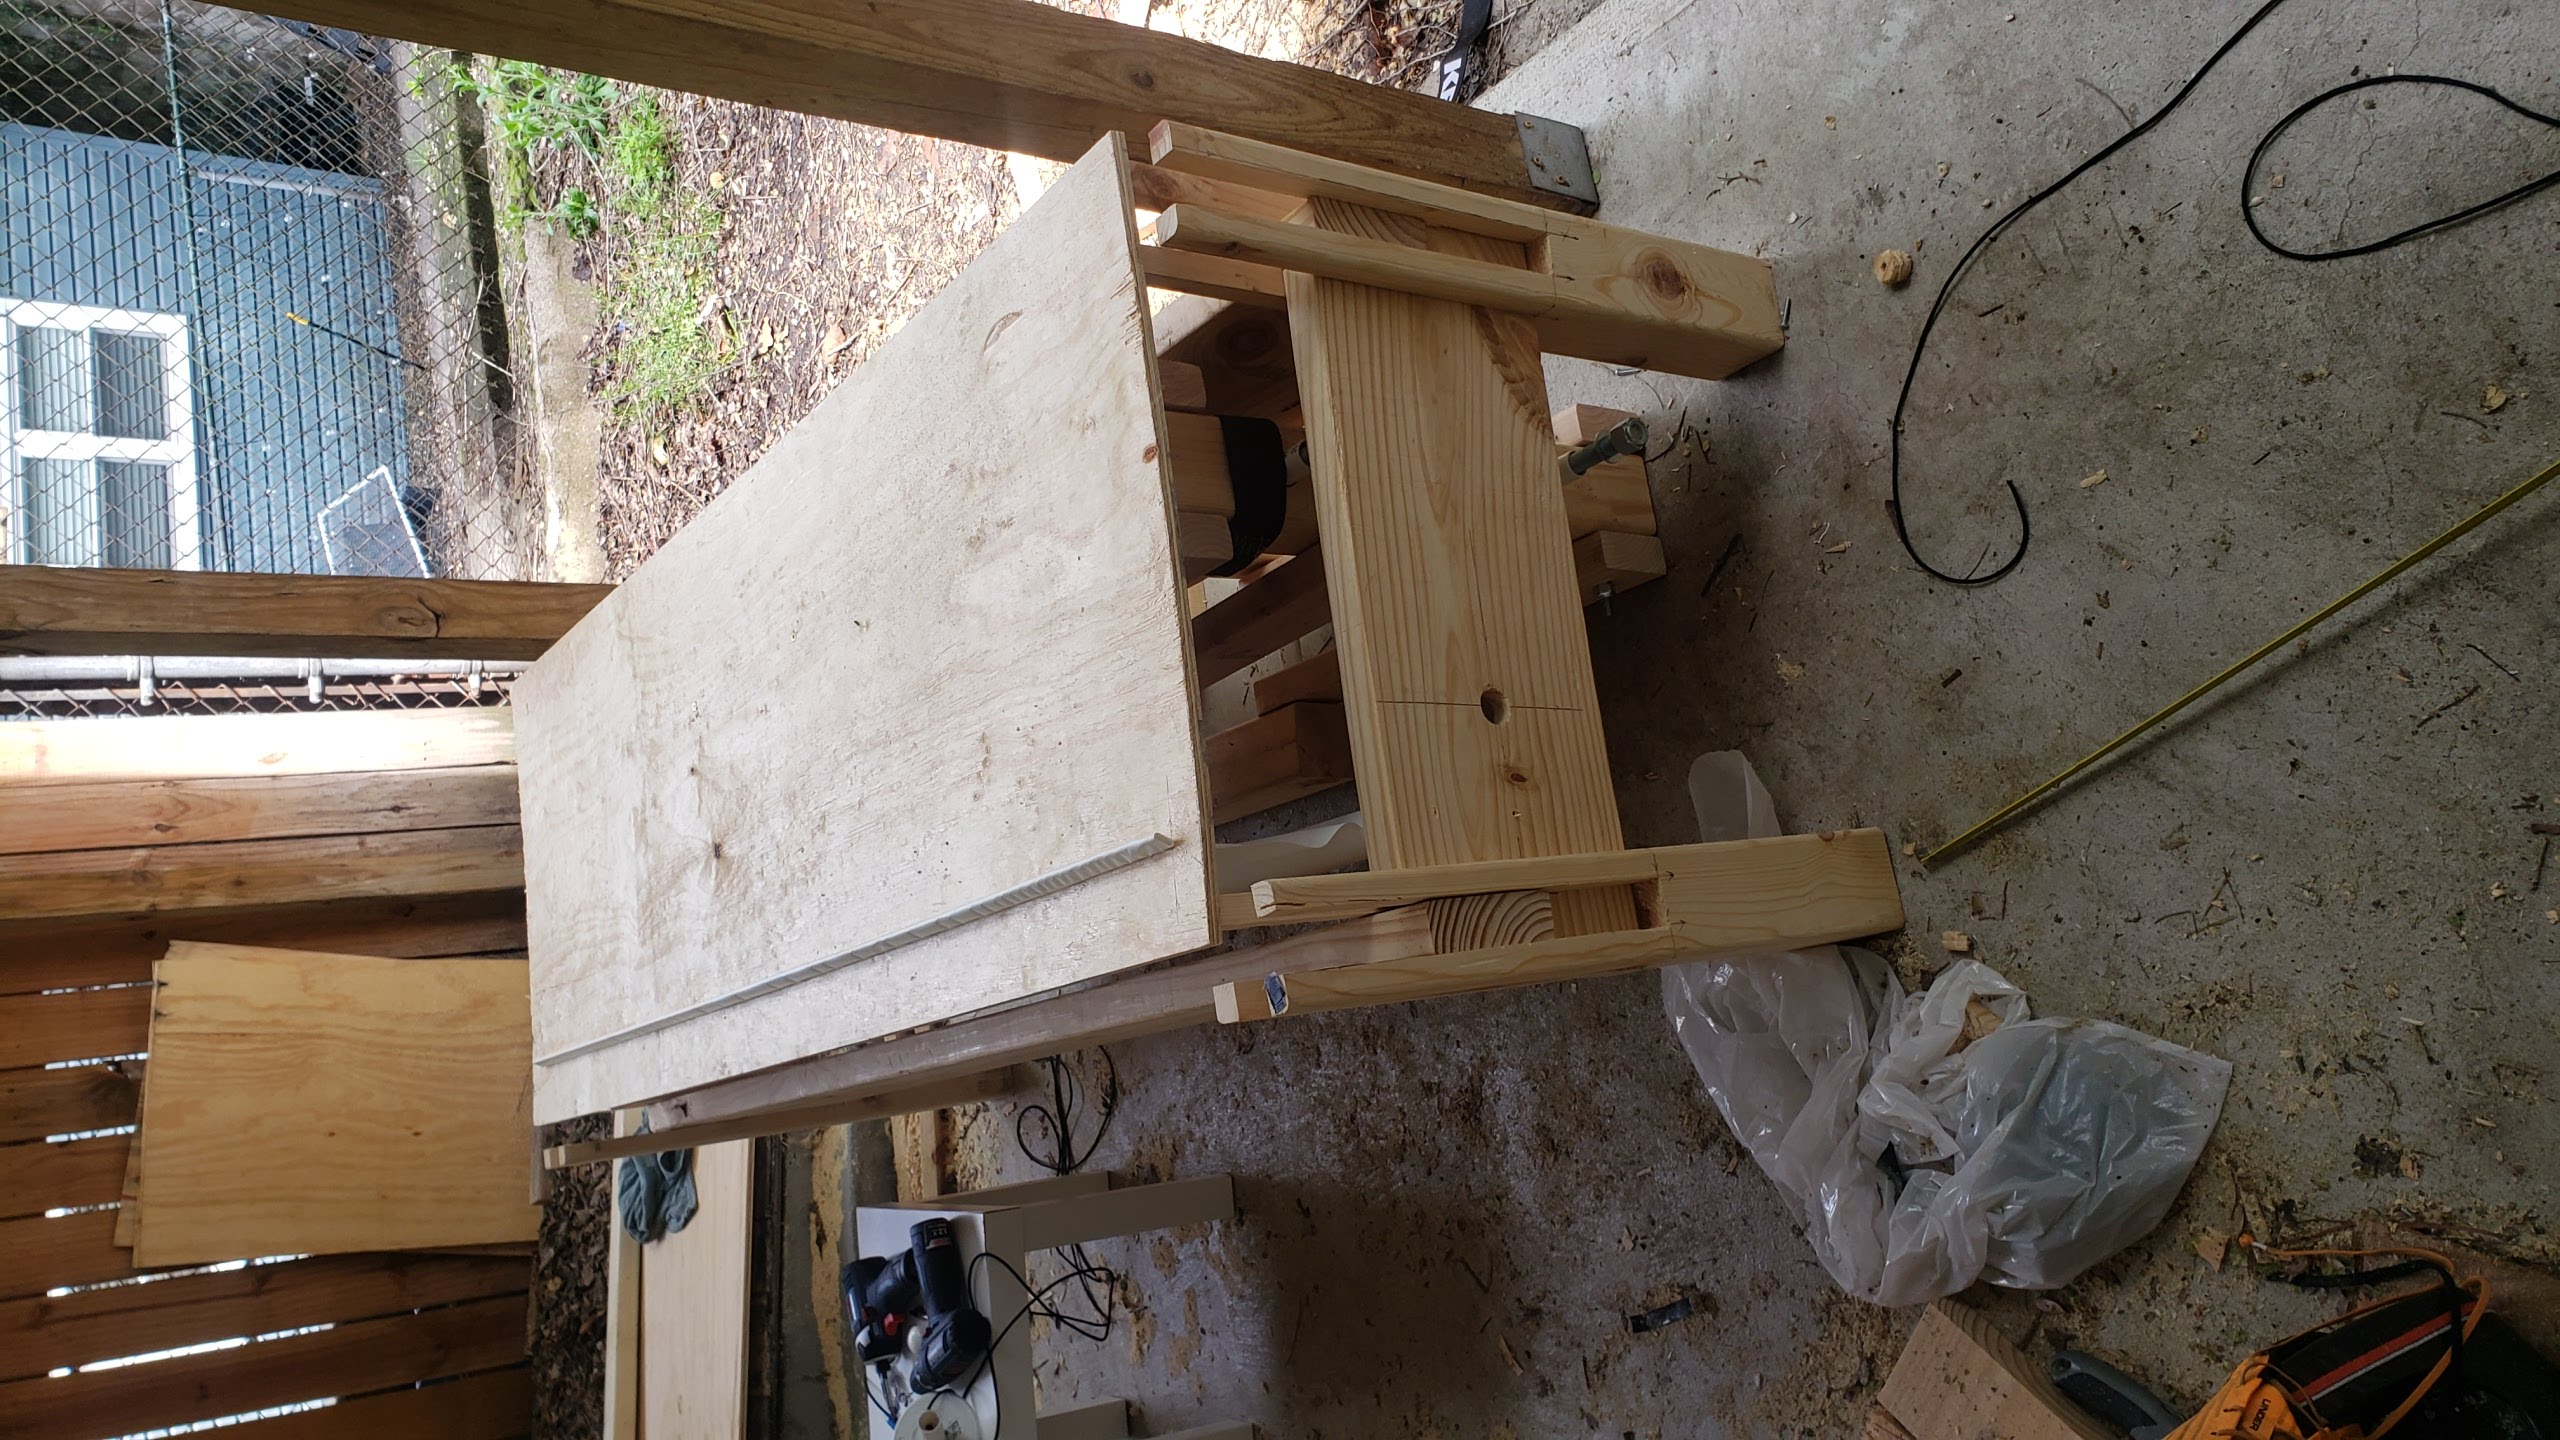
The screen was tricky, my first thought was to use a drop-cloth on a rod with the springs from some tape measures on each to get it to roll back up. I bought a couple tape measures and tried to use them but the springs are super unwieldy. I made some PVC enclosures for them but there was just too much friction and I couldn’t get them to roll up consistently. My next attempt was to use elastic in place of the springs, this had basically the same problem as the constant force springs. This all happened before I built most of the bed frame, I did all this work on a prototype made of construction lumber. Wandering the aisles of the big box store I stumbled across the pull down window shades, they’re perfect and they can cut them to length right in the store. I raced home, drilled out the ratchet and, installed the shade in my prototype.
 |
 |
 |
Hardwood
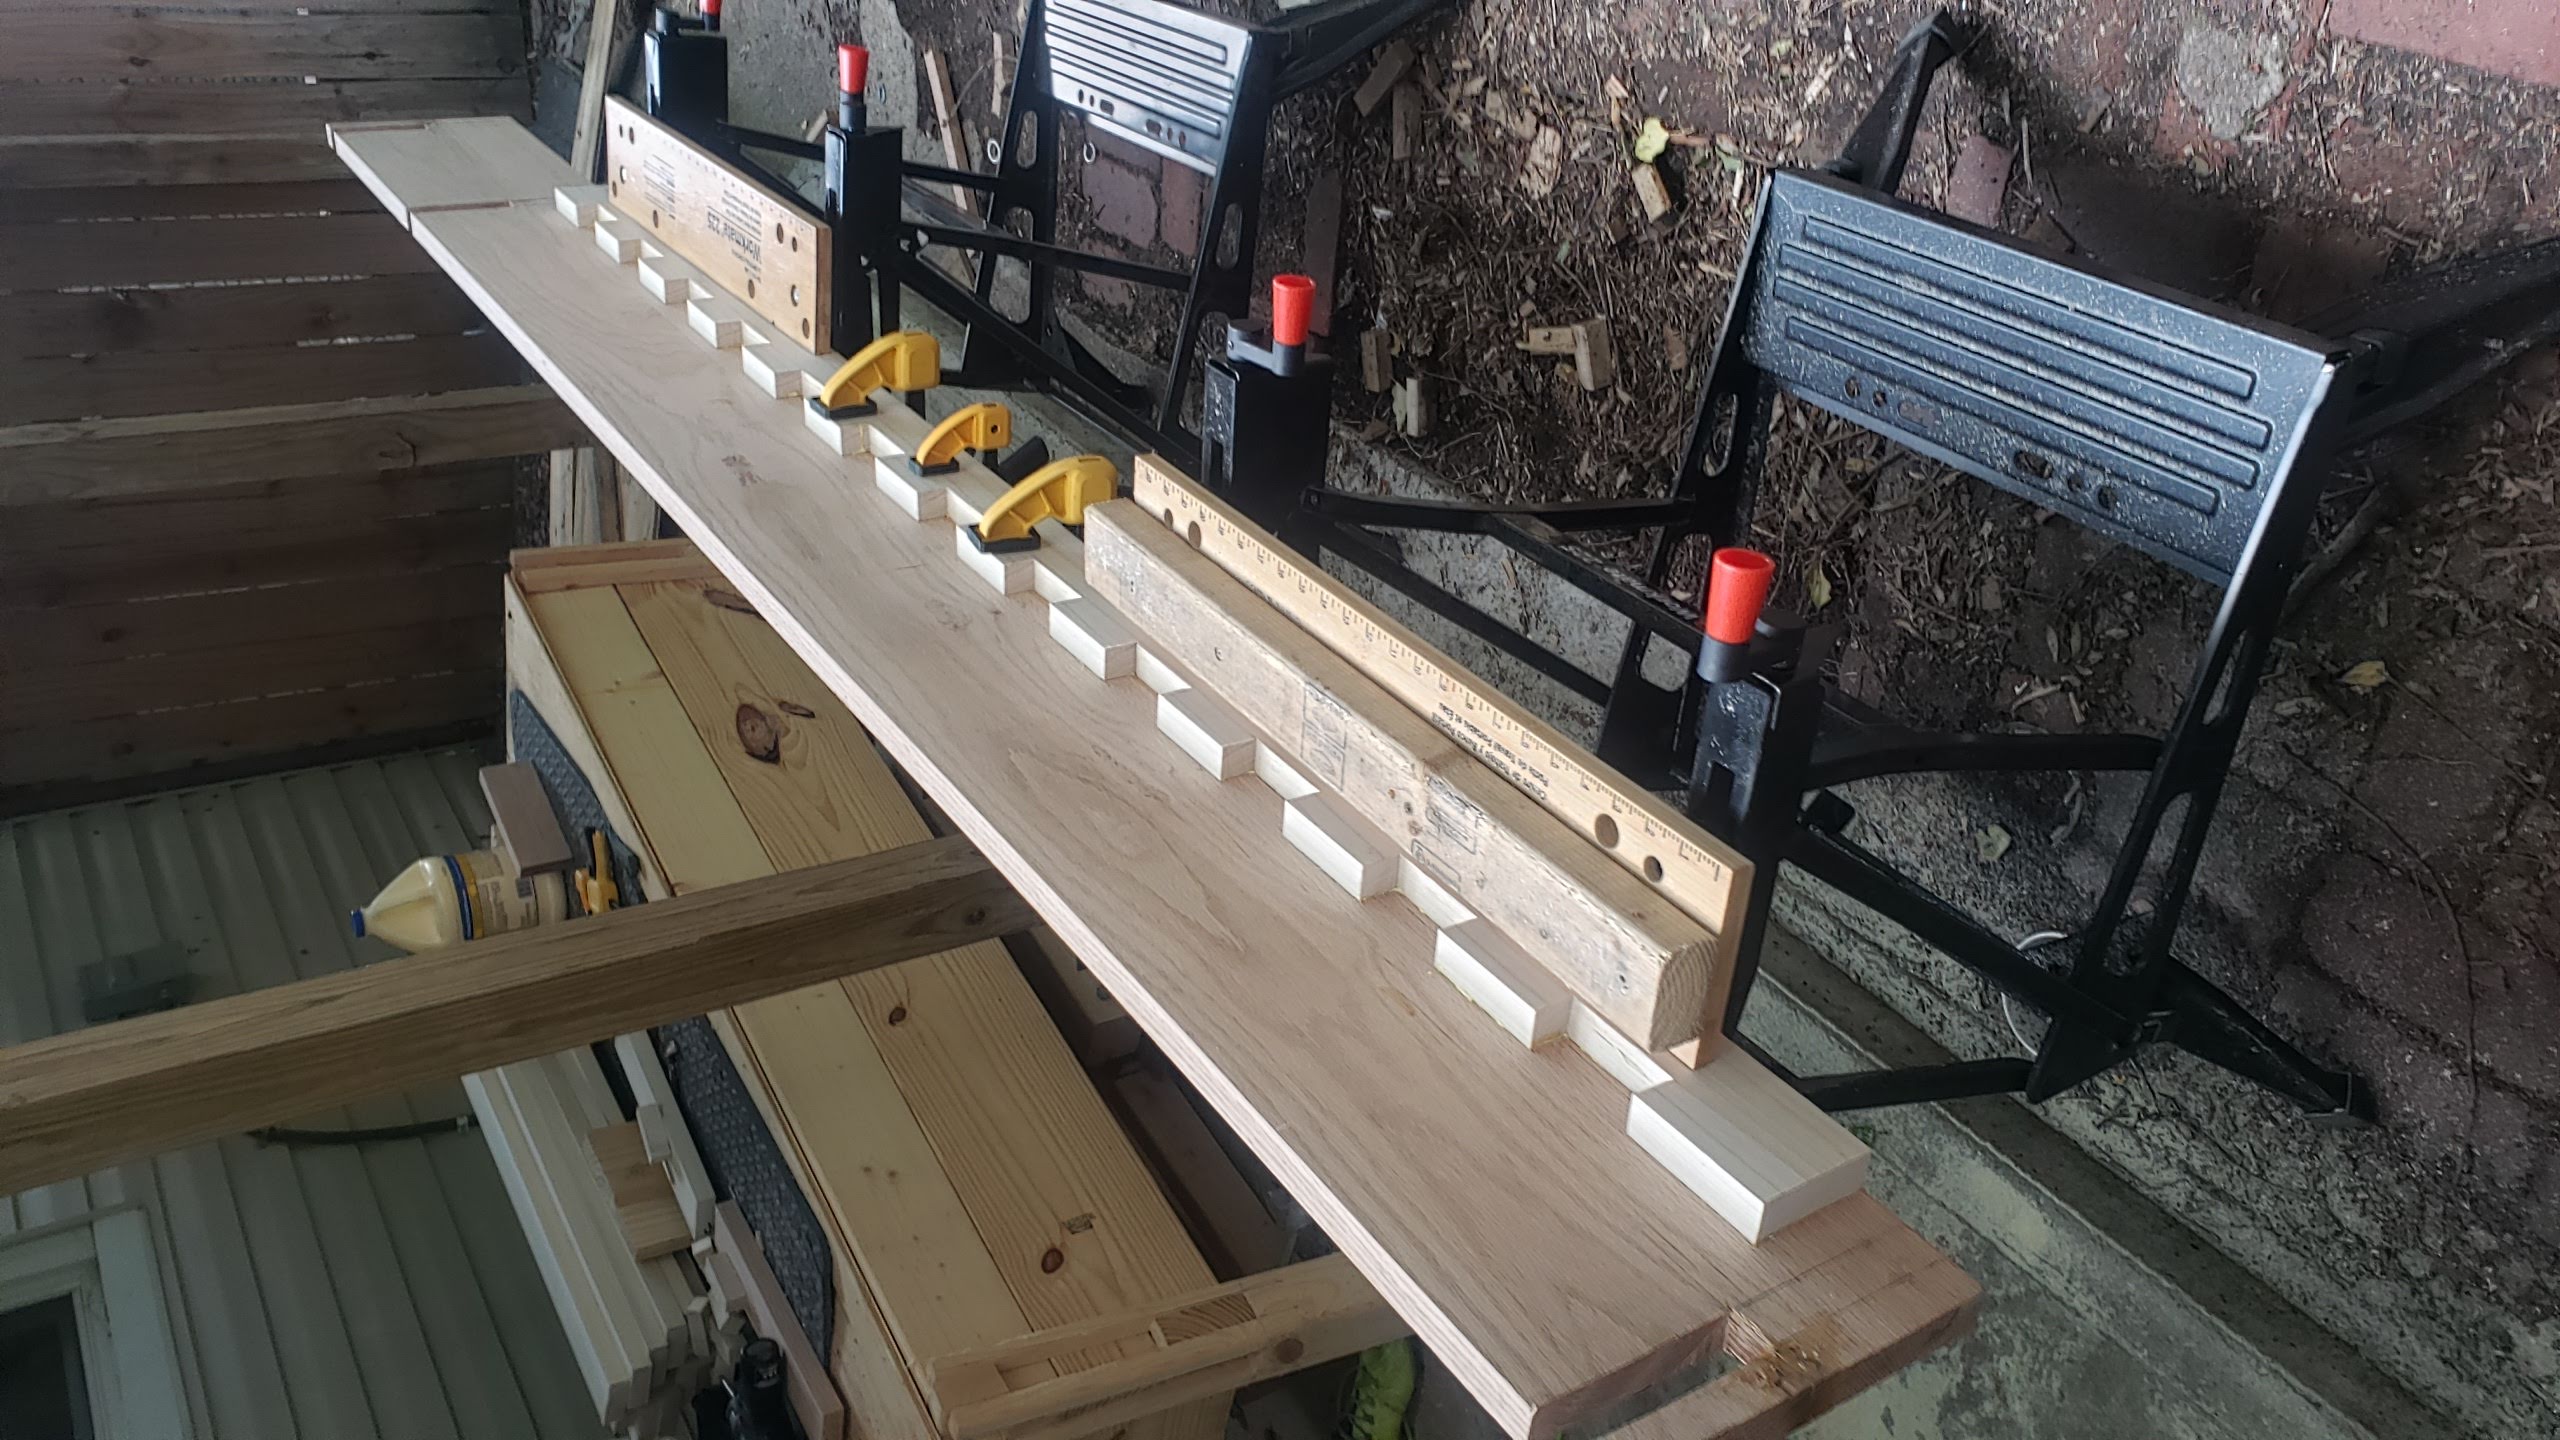
With the prototype done it was time to figure out real wood and not construction lumber. I headed out to a lumber yard in my lil prius and started asking questions. This lead to a minor redesign, I could use 3x3 lumber for my posts but with hardwood to get 3x3s it’d be 3 1” boards glued together. With that in mind I could split up my posts into 3 boards and glue em together myself, that’d save some wood and time hacking away at a post. The next problem was fitting 10’ boards in the prius. The lumber yard is out by where I work and I carpool with a friend. He was relegated to the back seat, I put the front seat down backwards and scratched up the interior a little bit but I got em home.
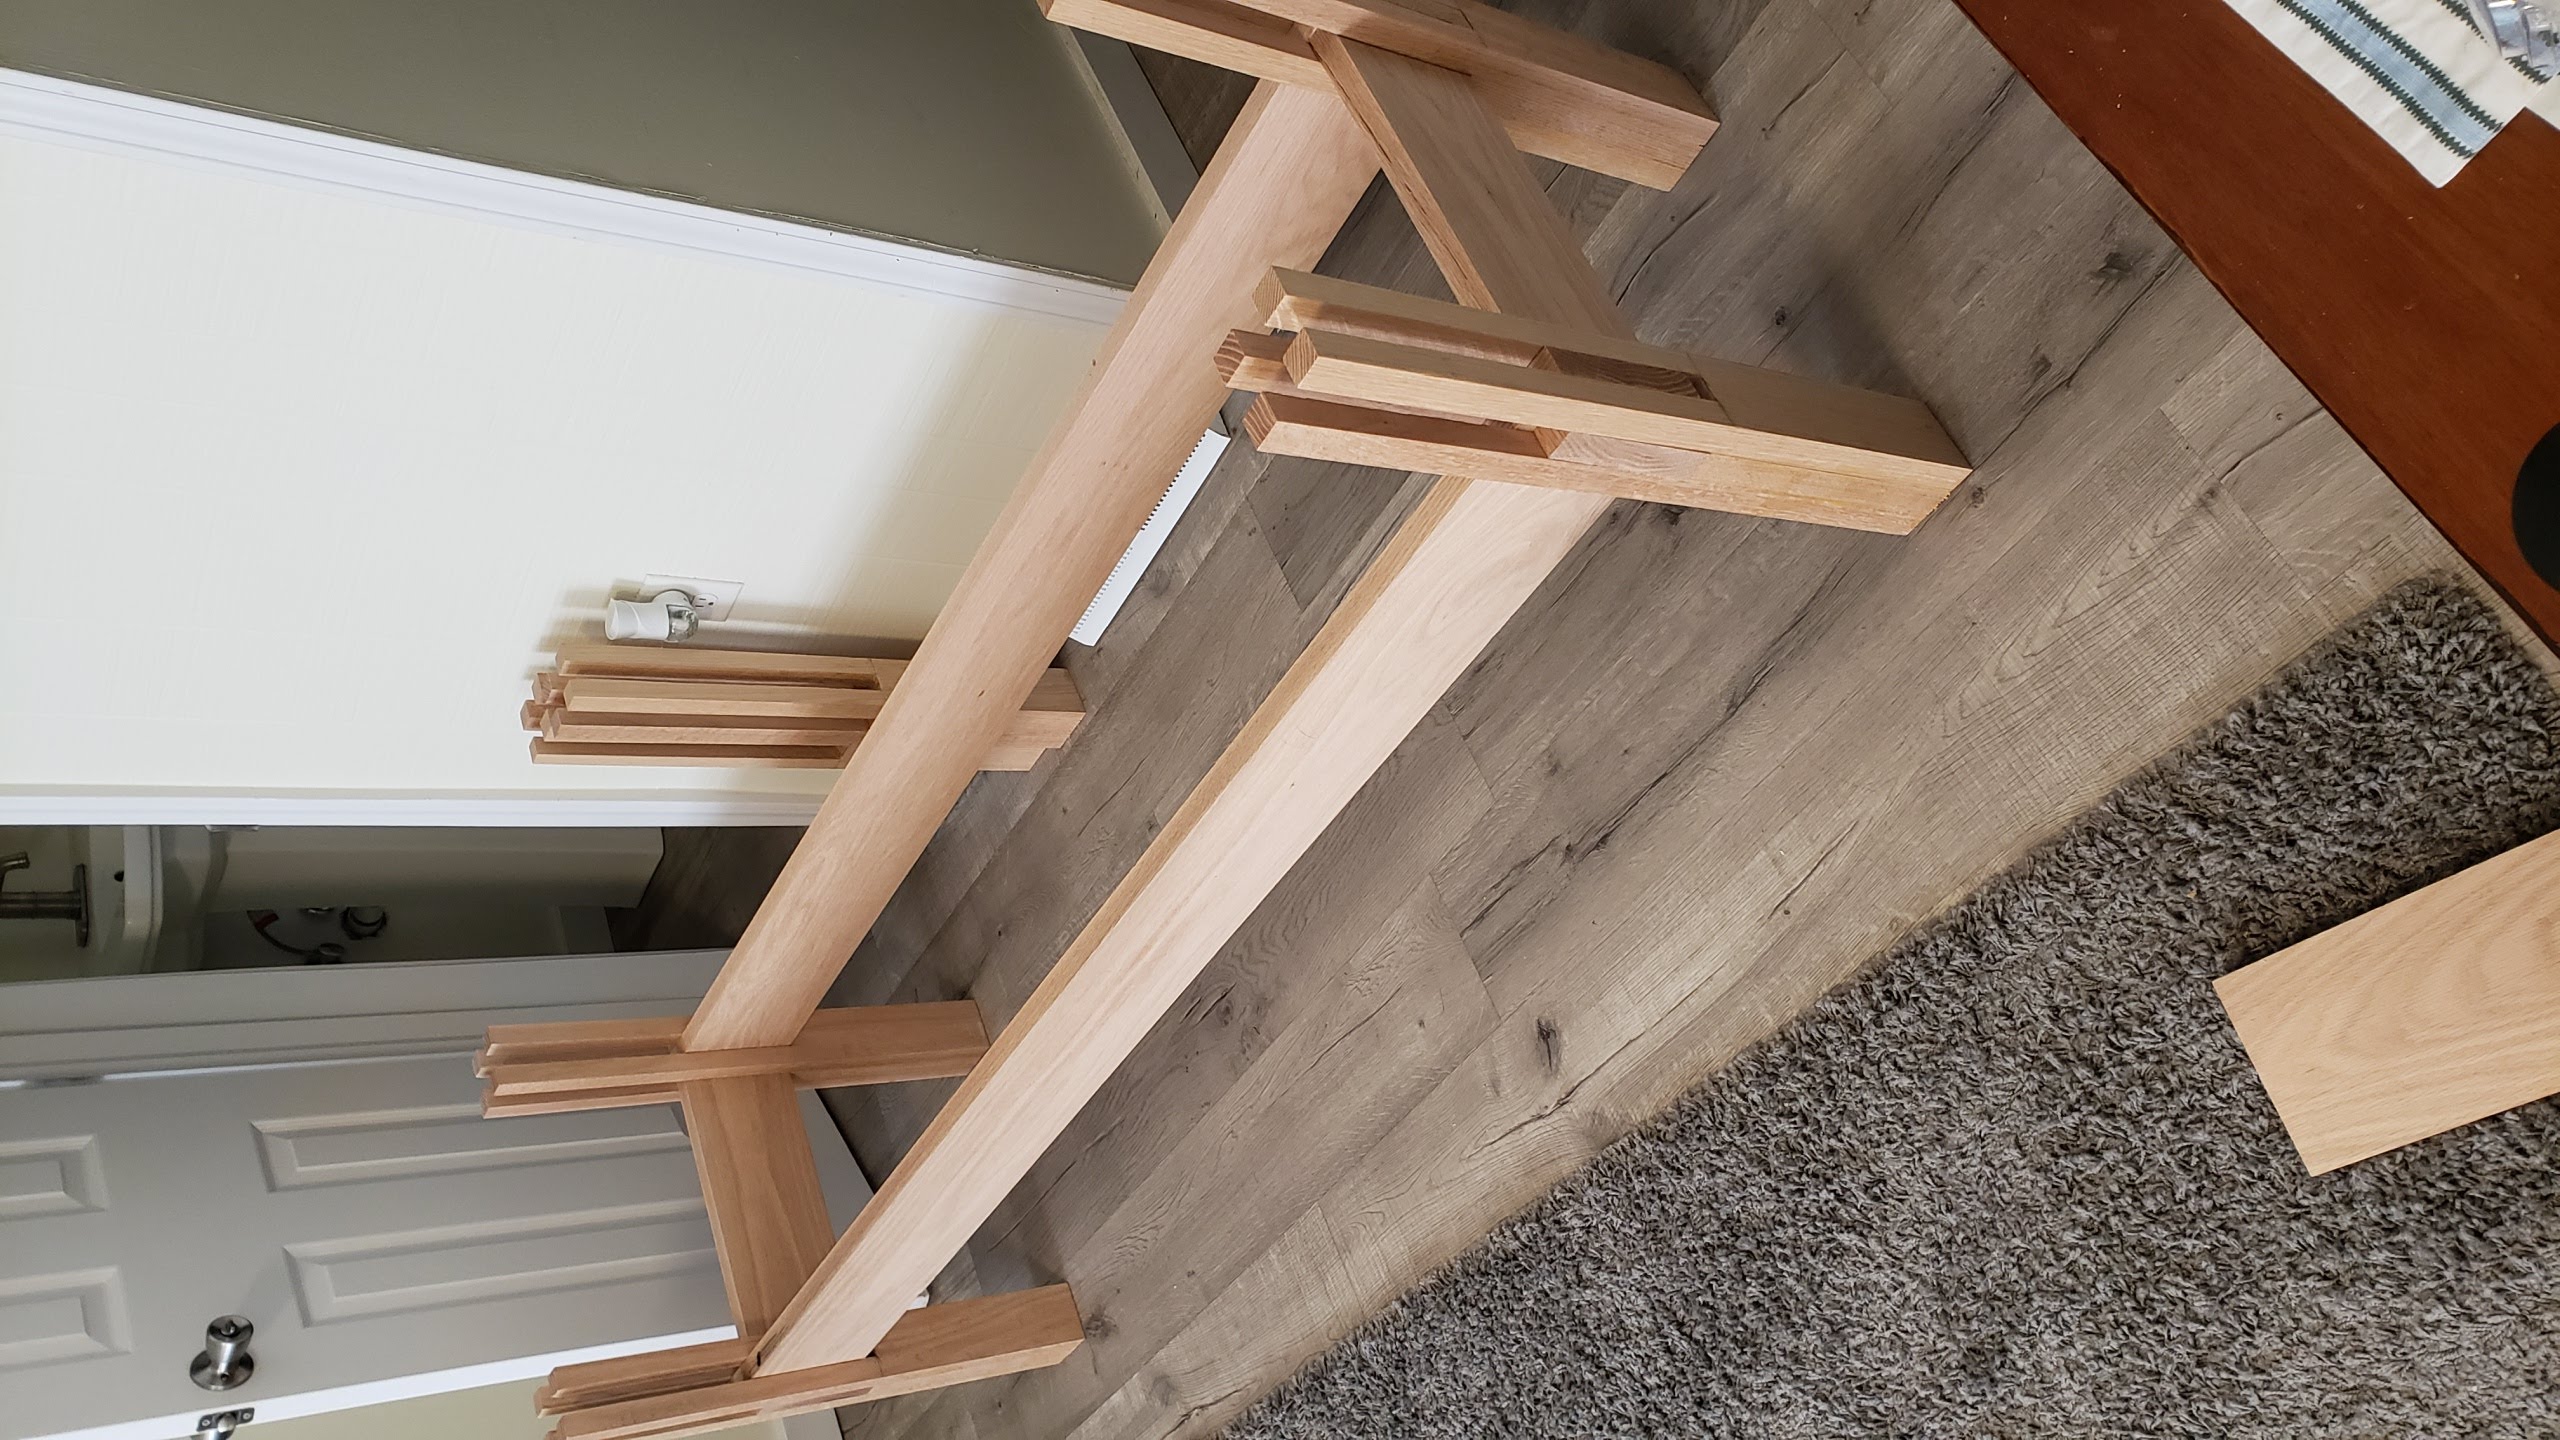
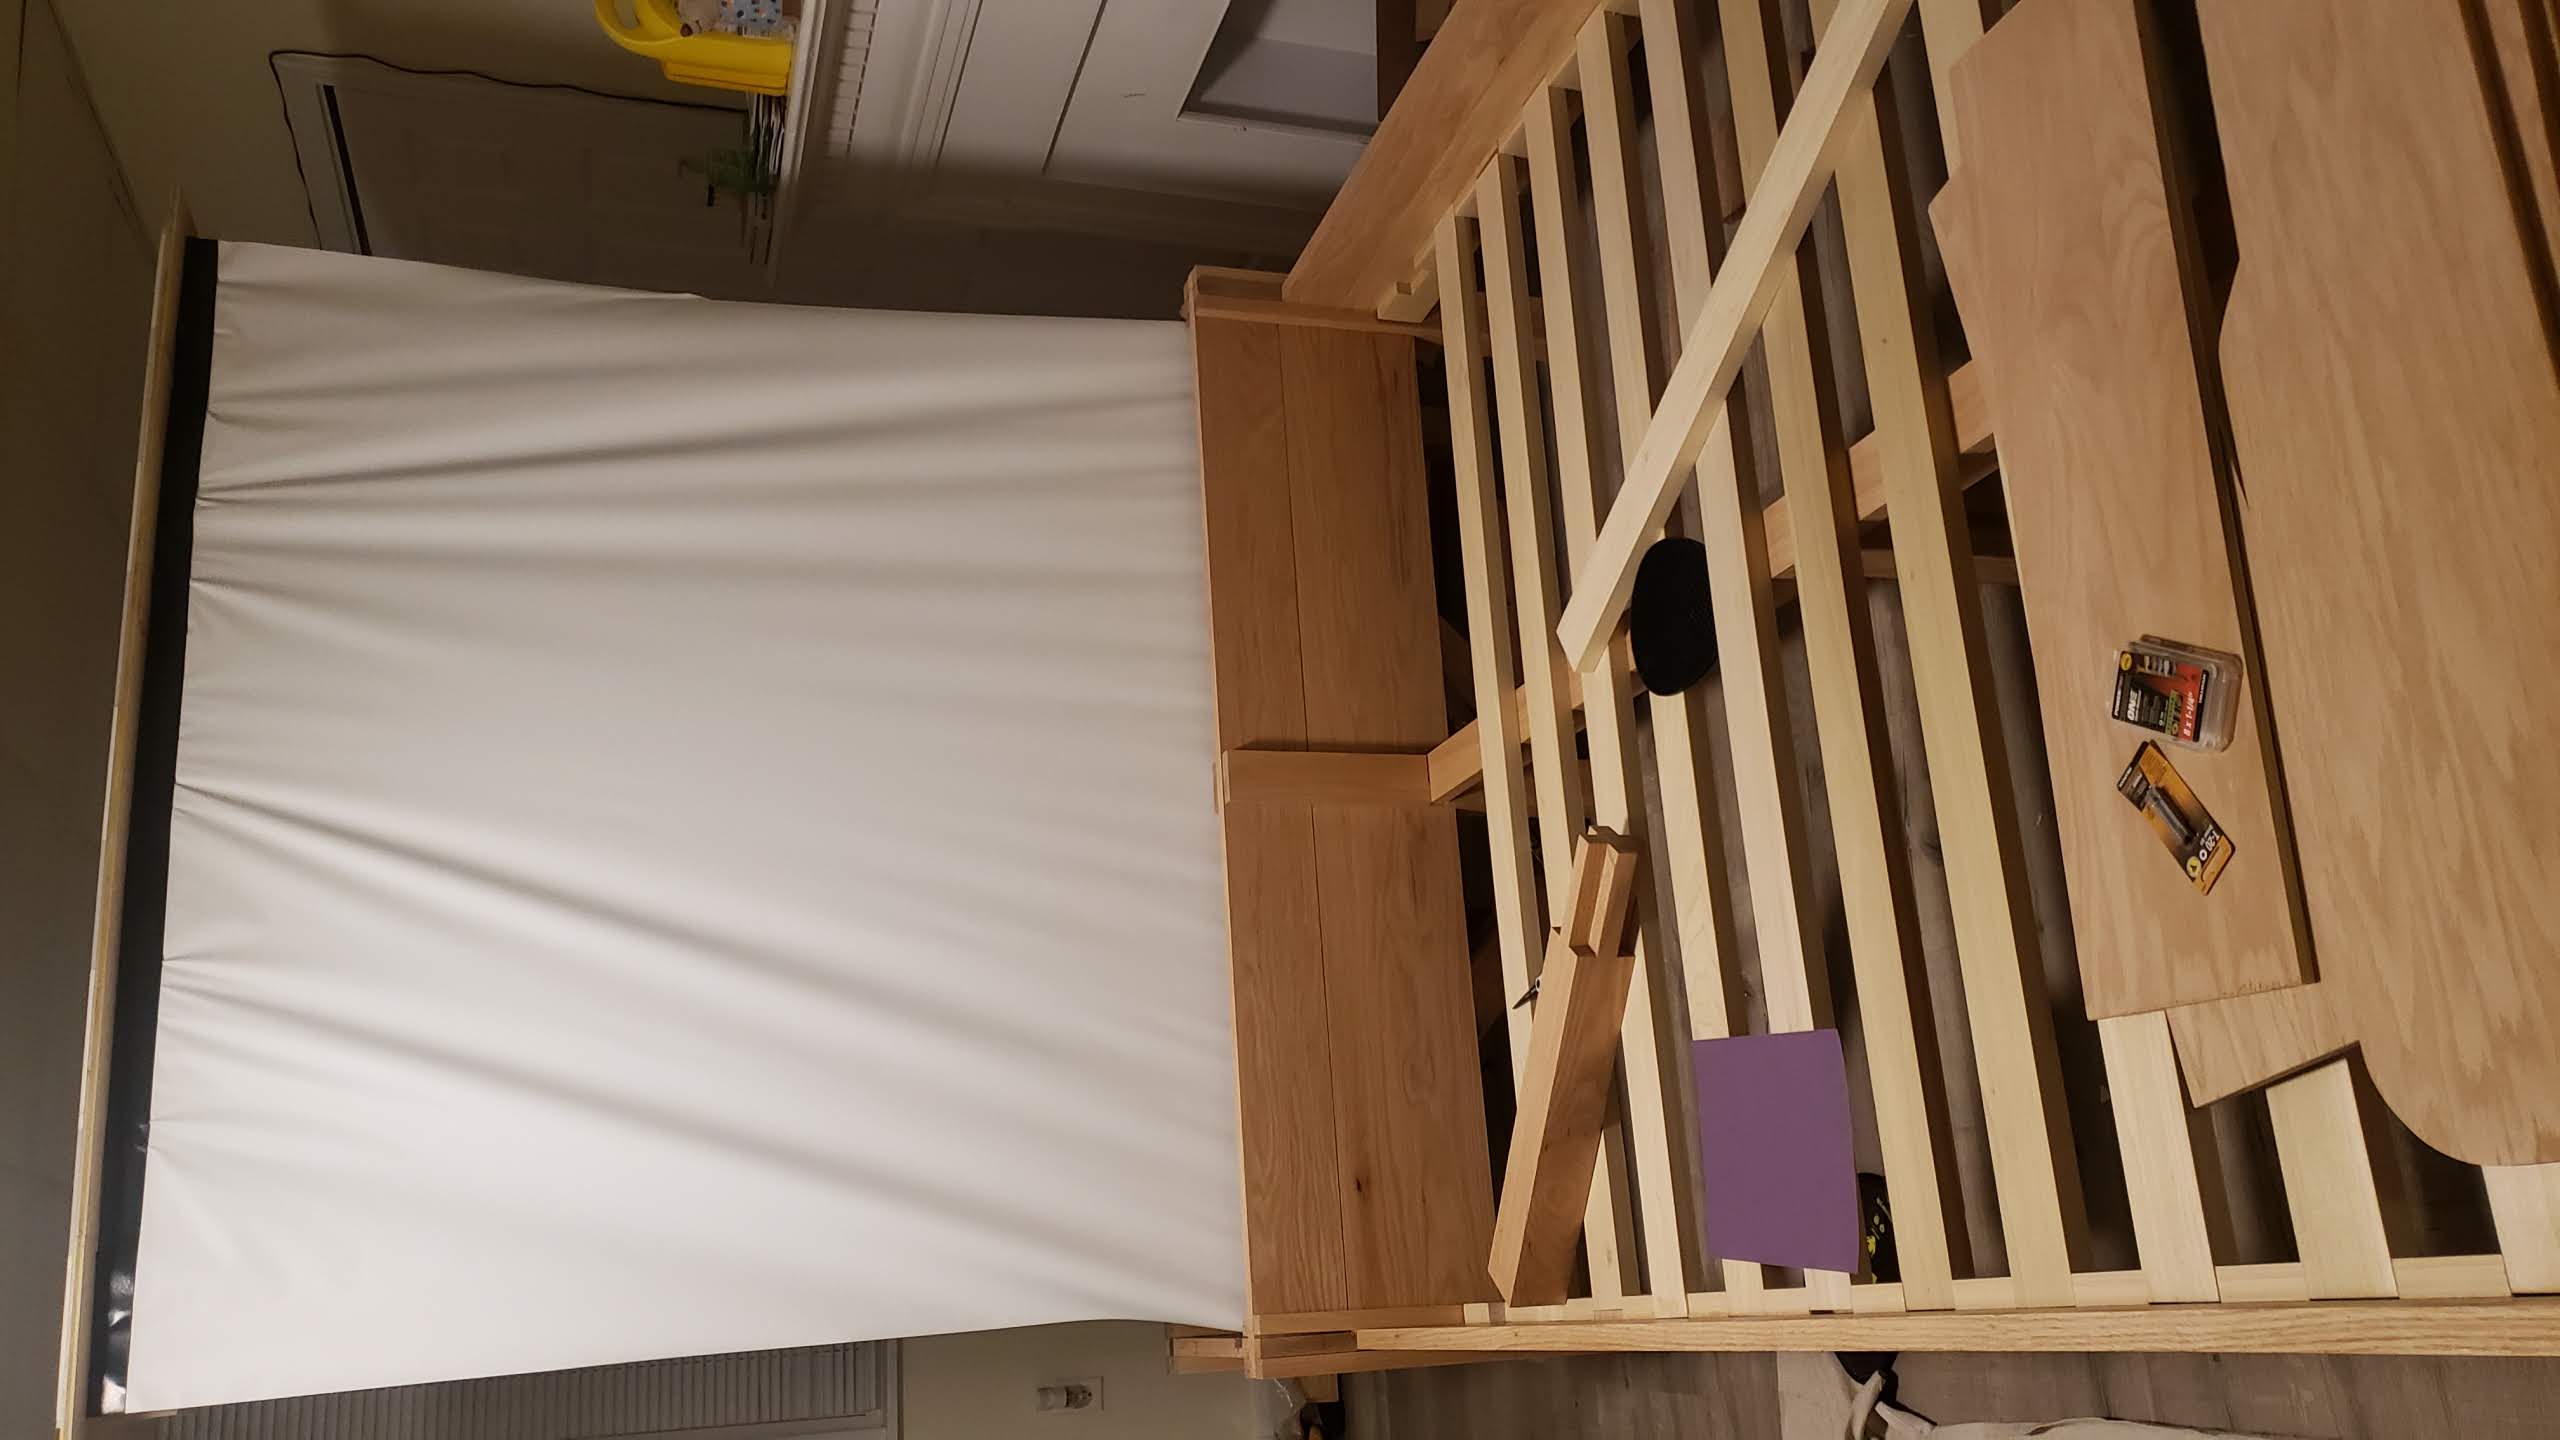
With the boards home (and in my living room) it was time to start cutting. I spent basically all my time after work and on the weekend working on it and got everything cut in a a week or two.
 |
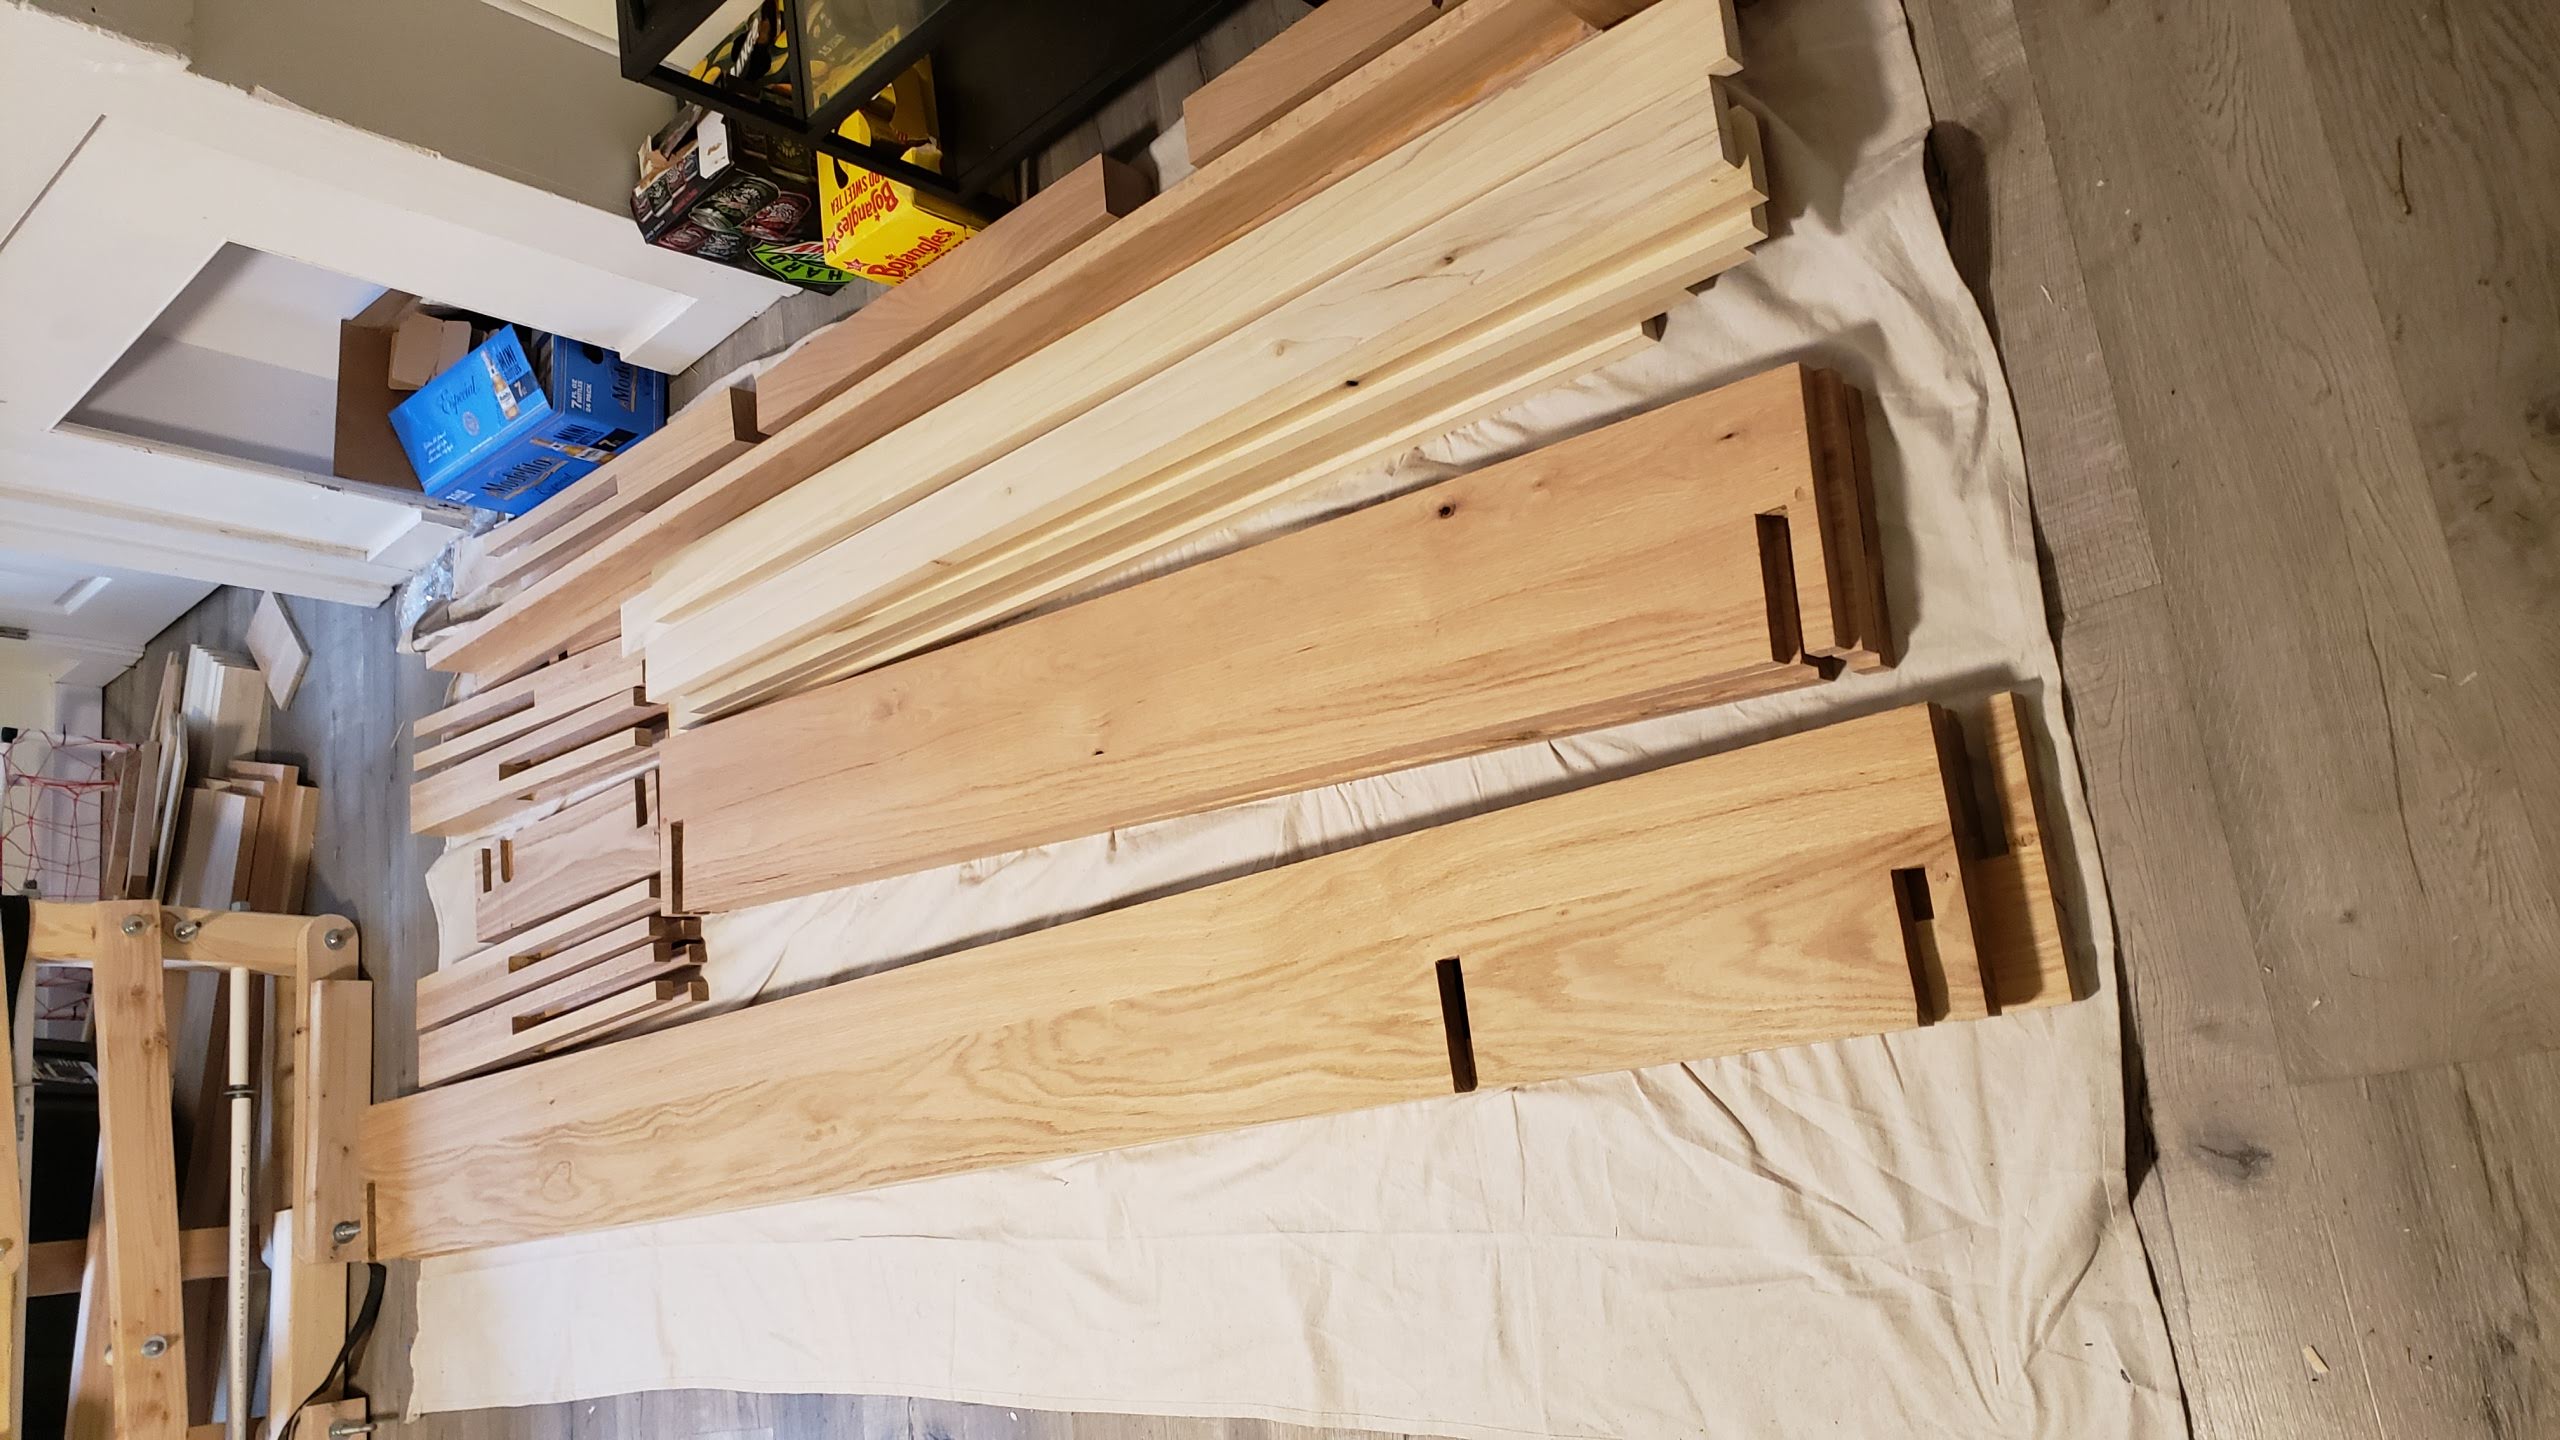 |
The little fingers on the end of the boards would snap off so I drilled some angled holes in them, put some glue on there and hammered in some dowels to keep everything secure. With all the pieces cut I started assembly.
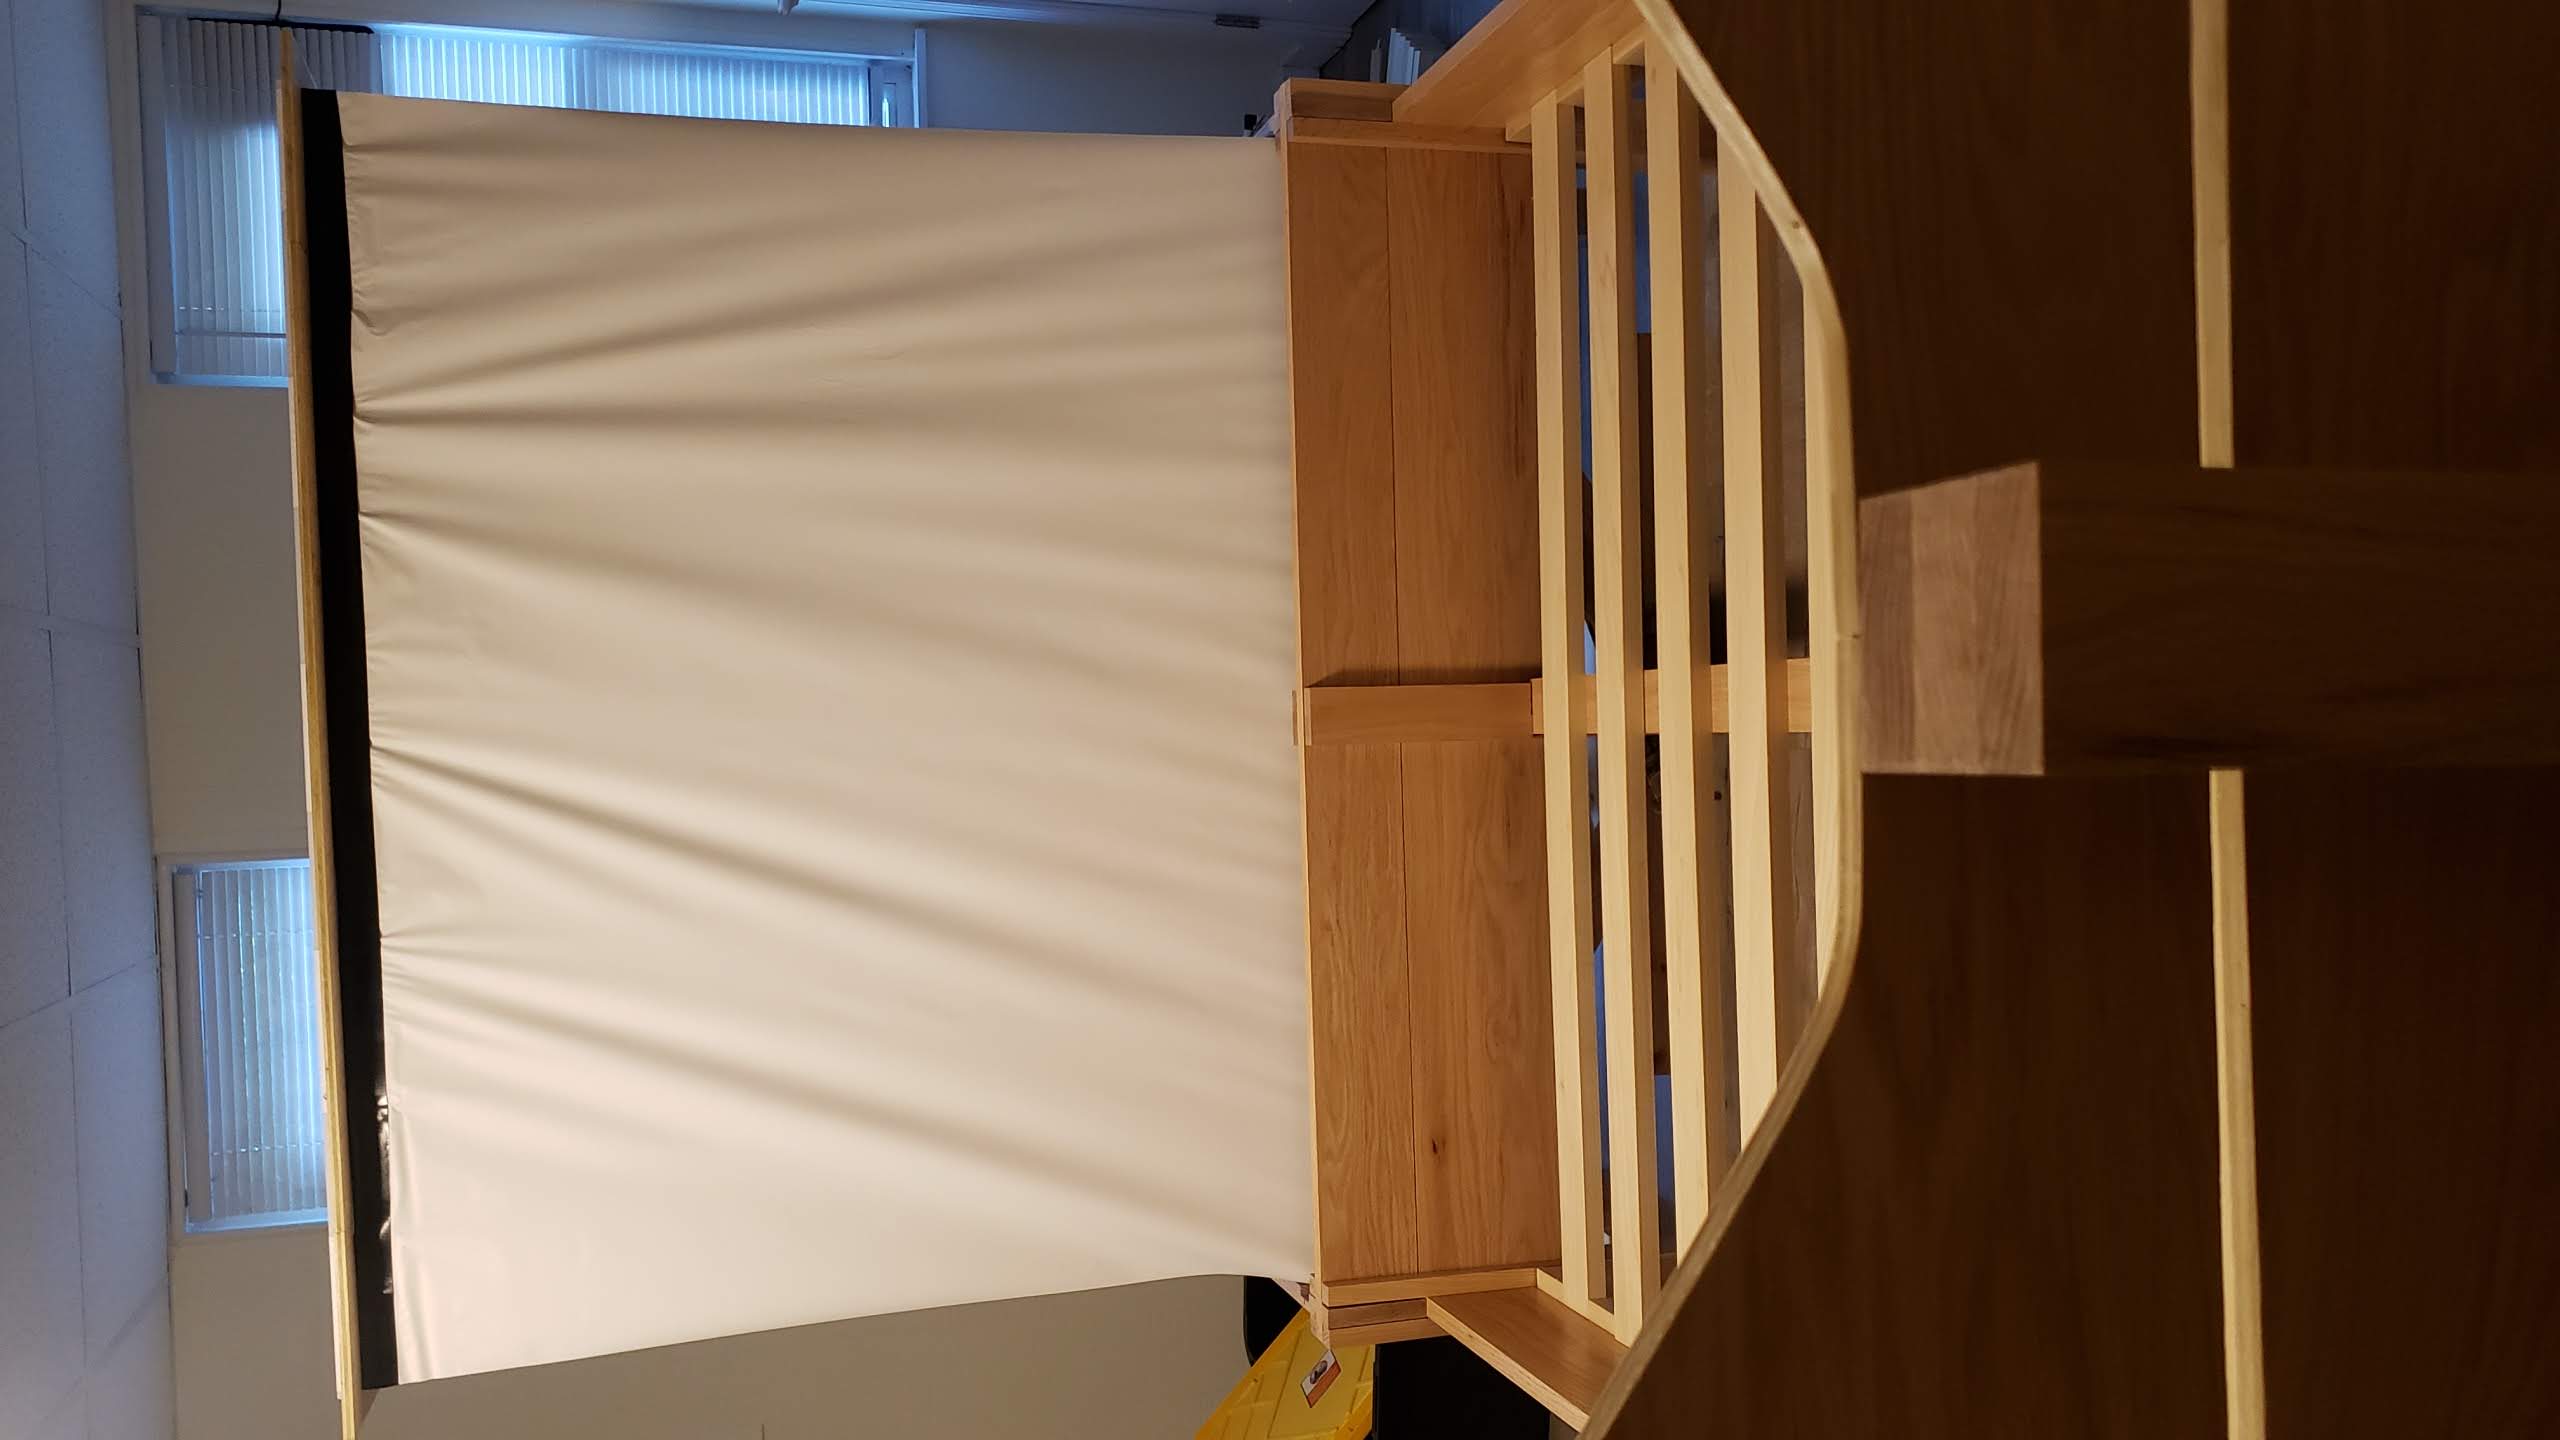
 |
 |
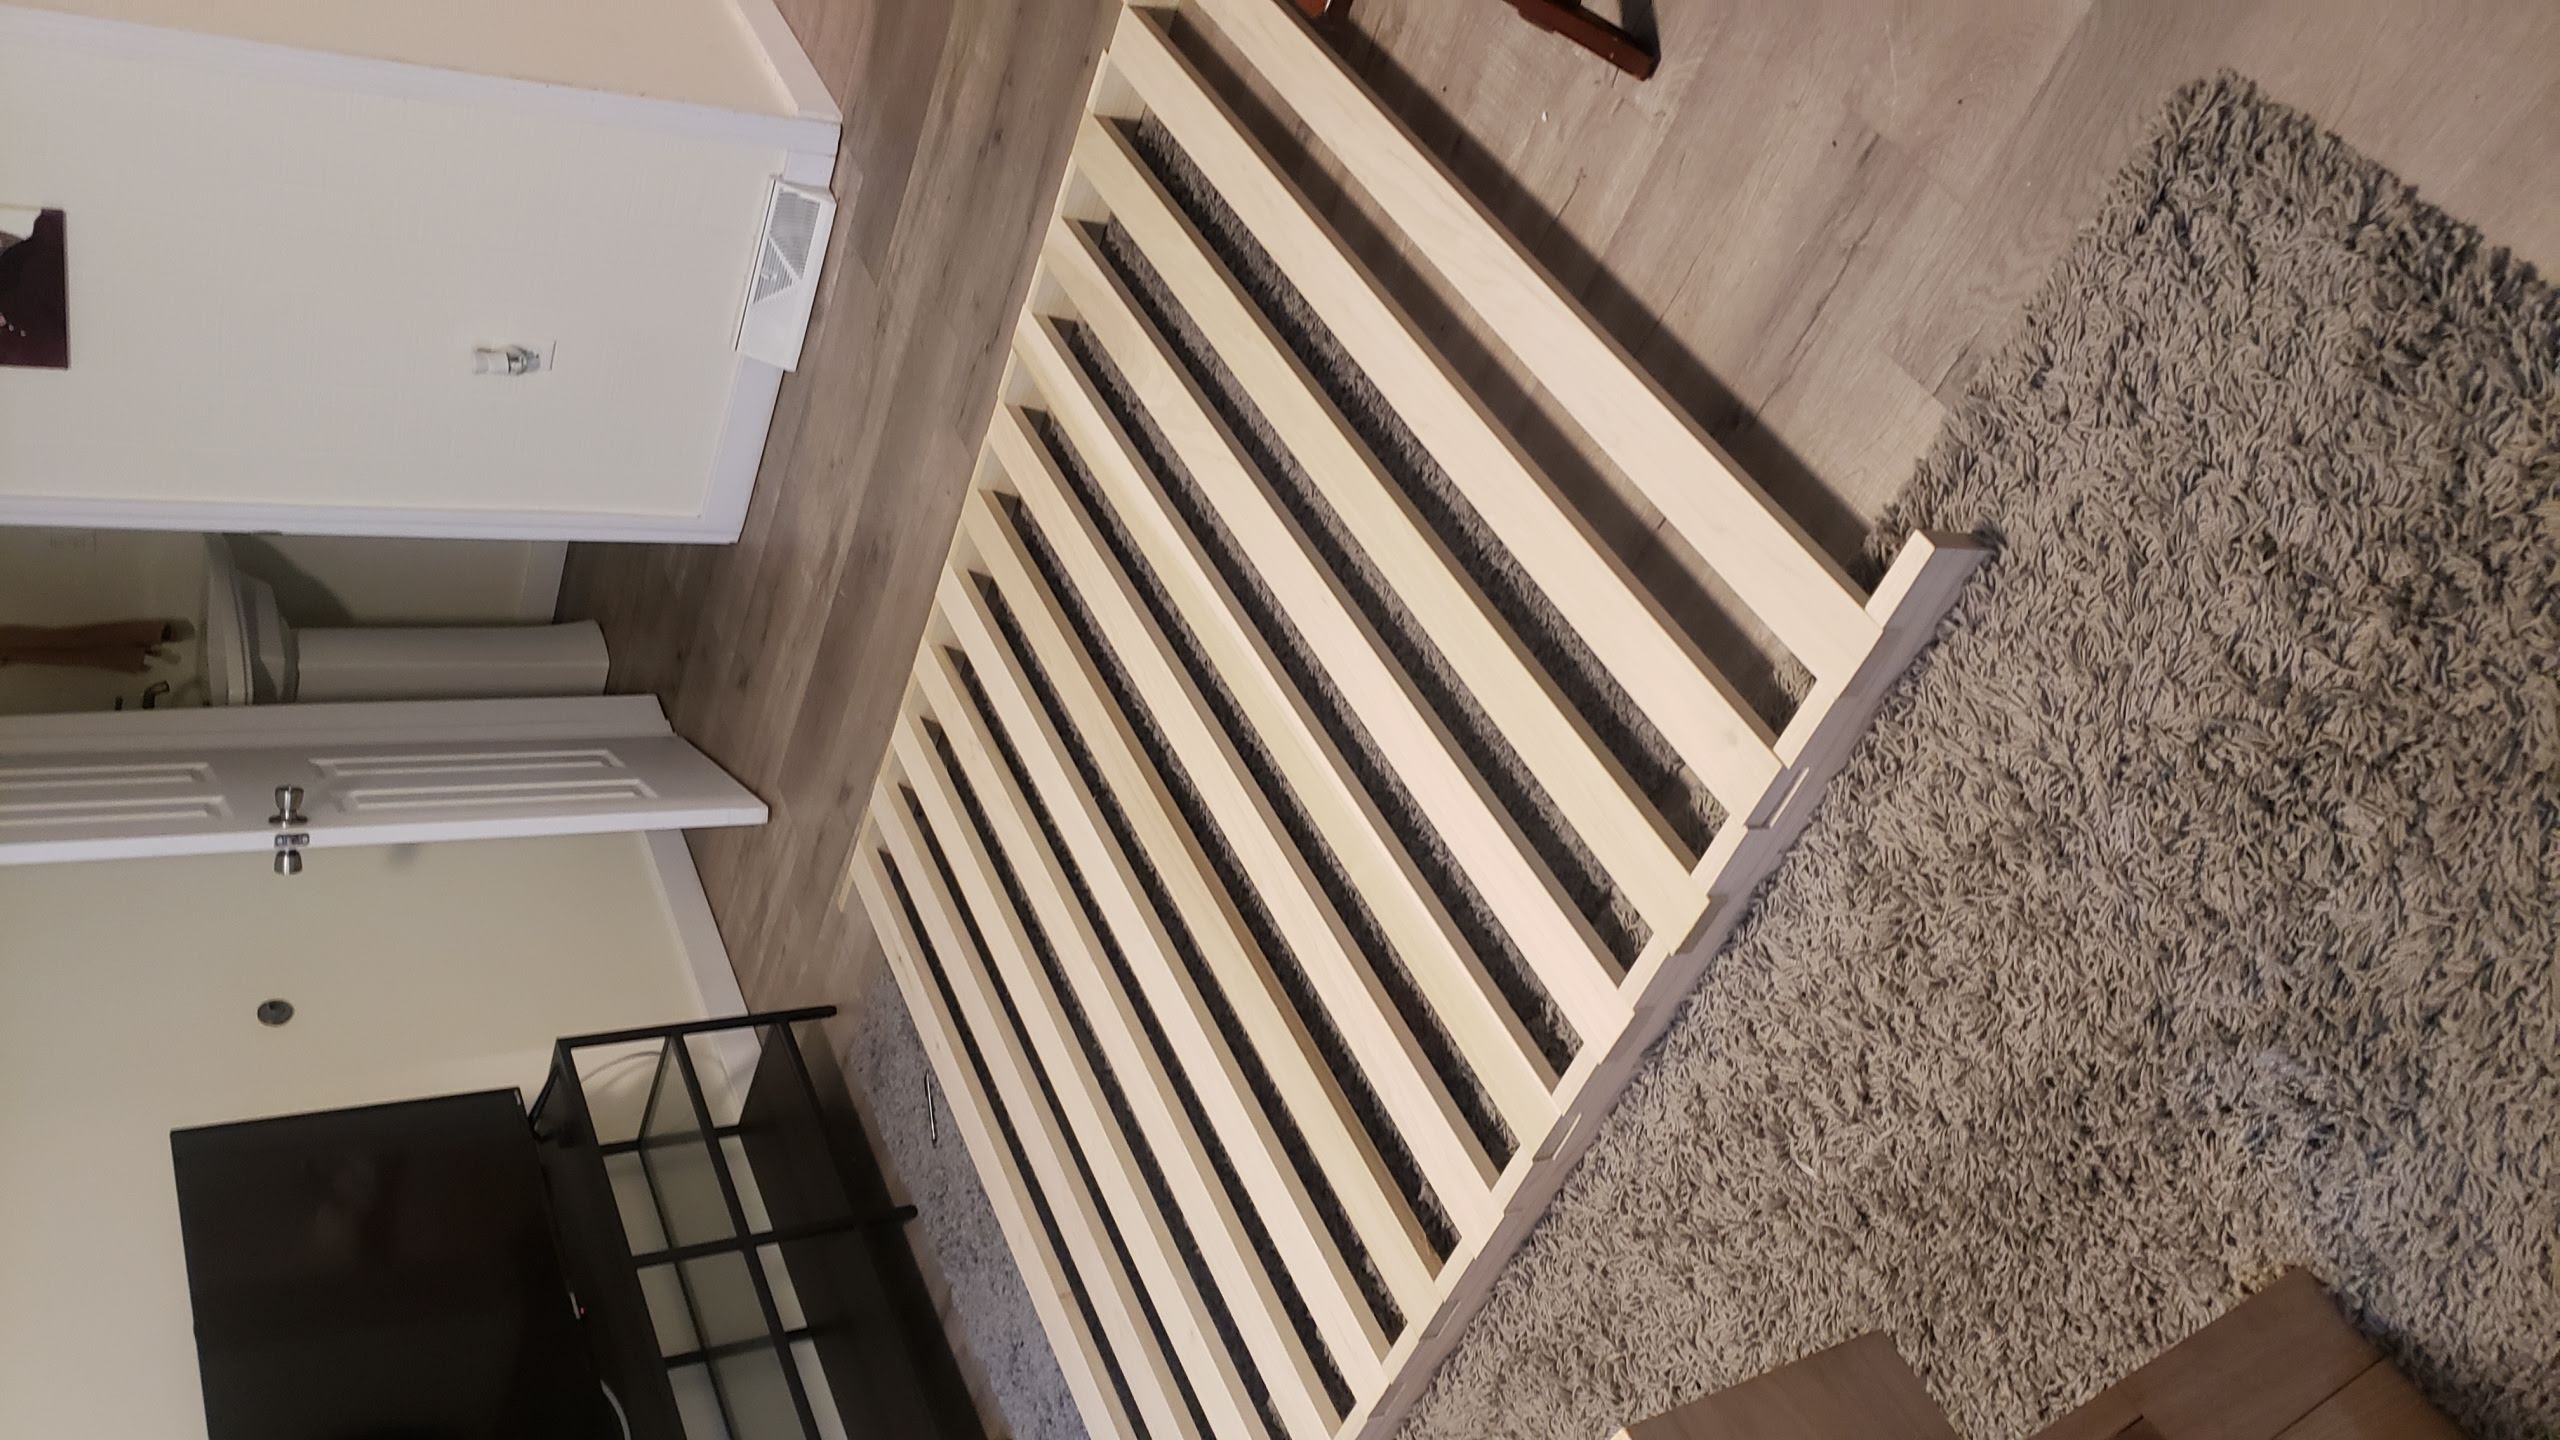 |
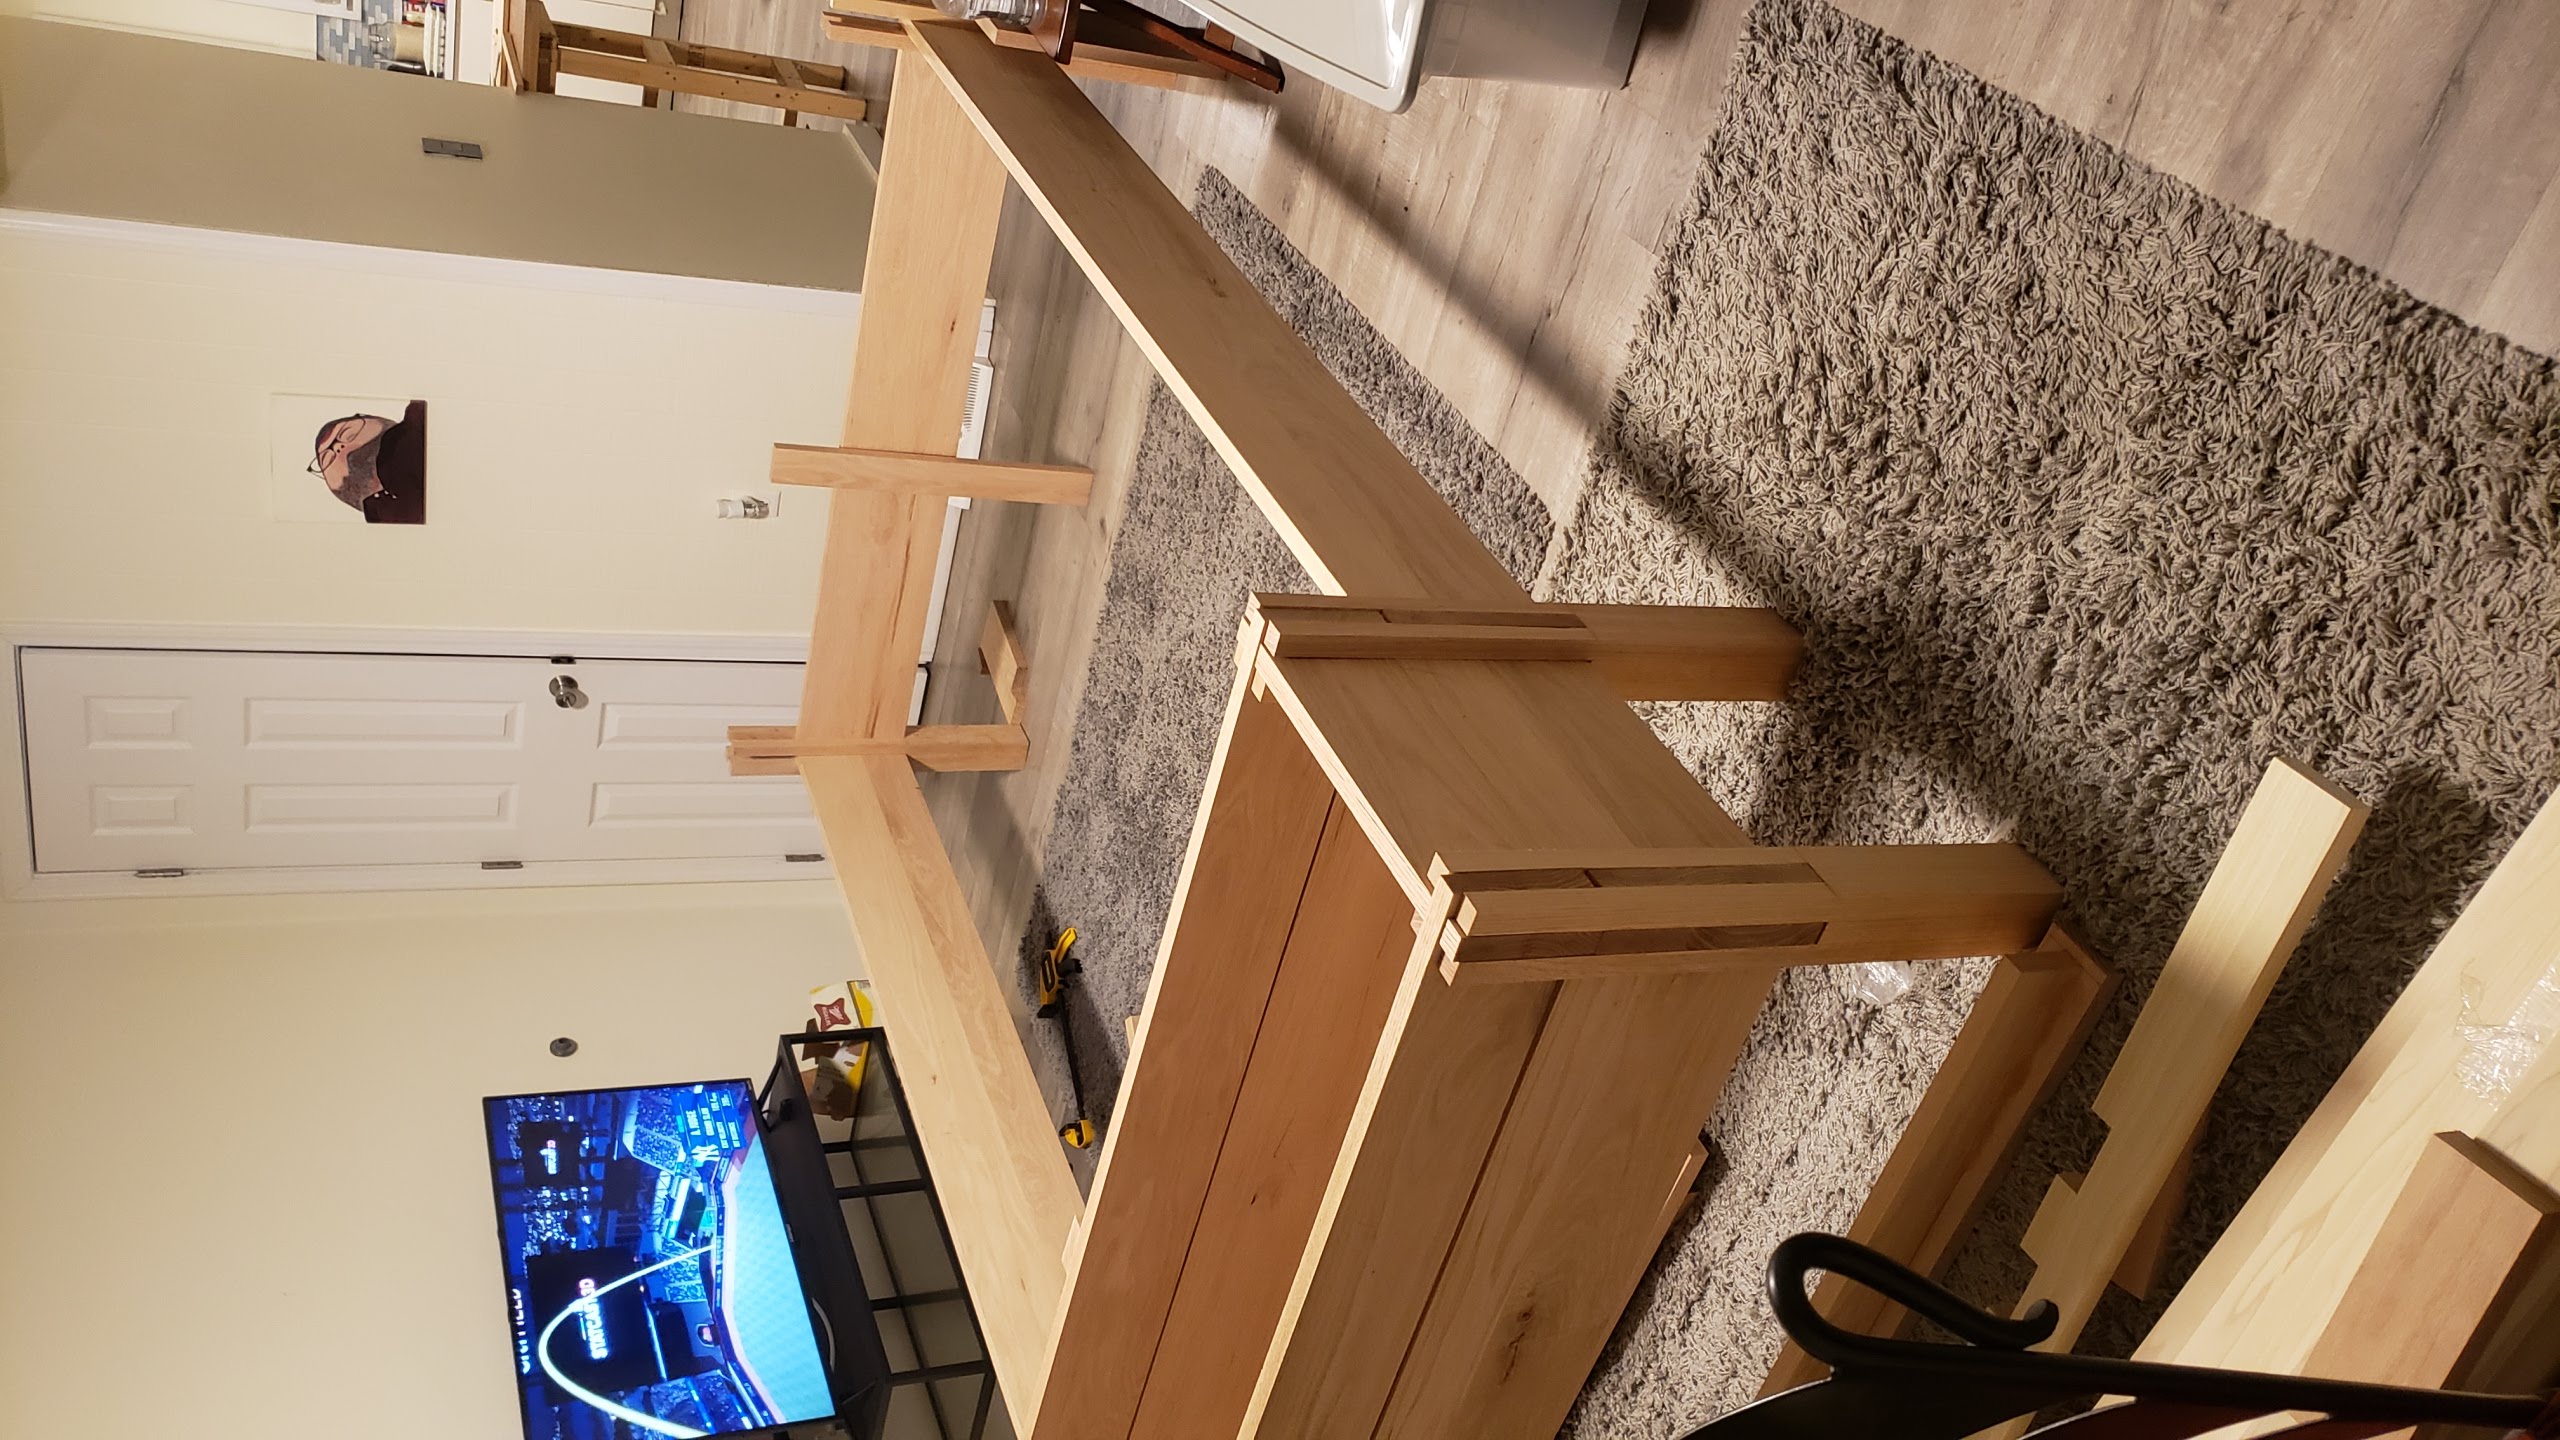
A couple glue ups later and I had a bed.
Then I fit everything together …
 |
 |
 |
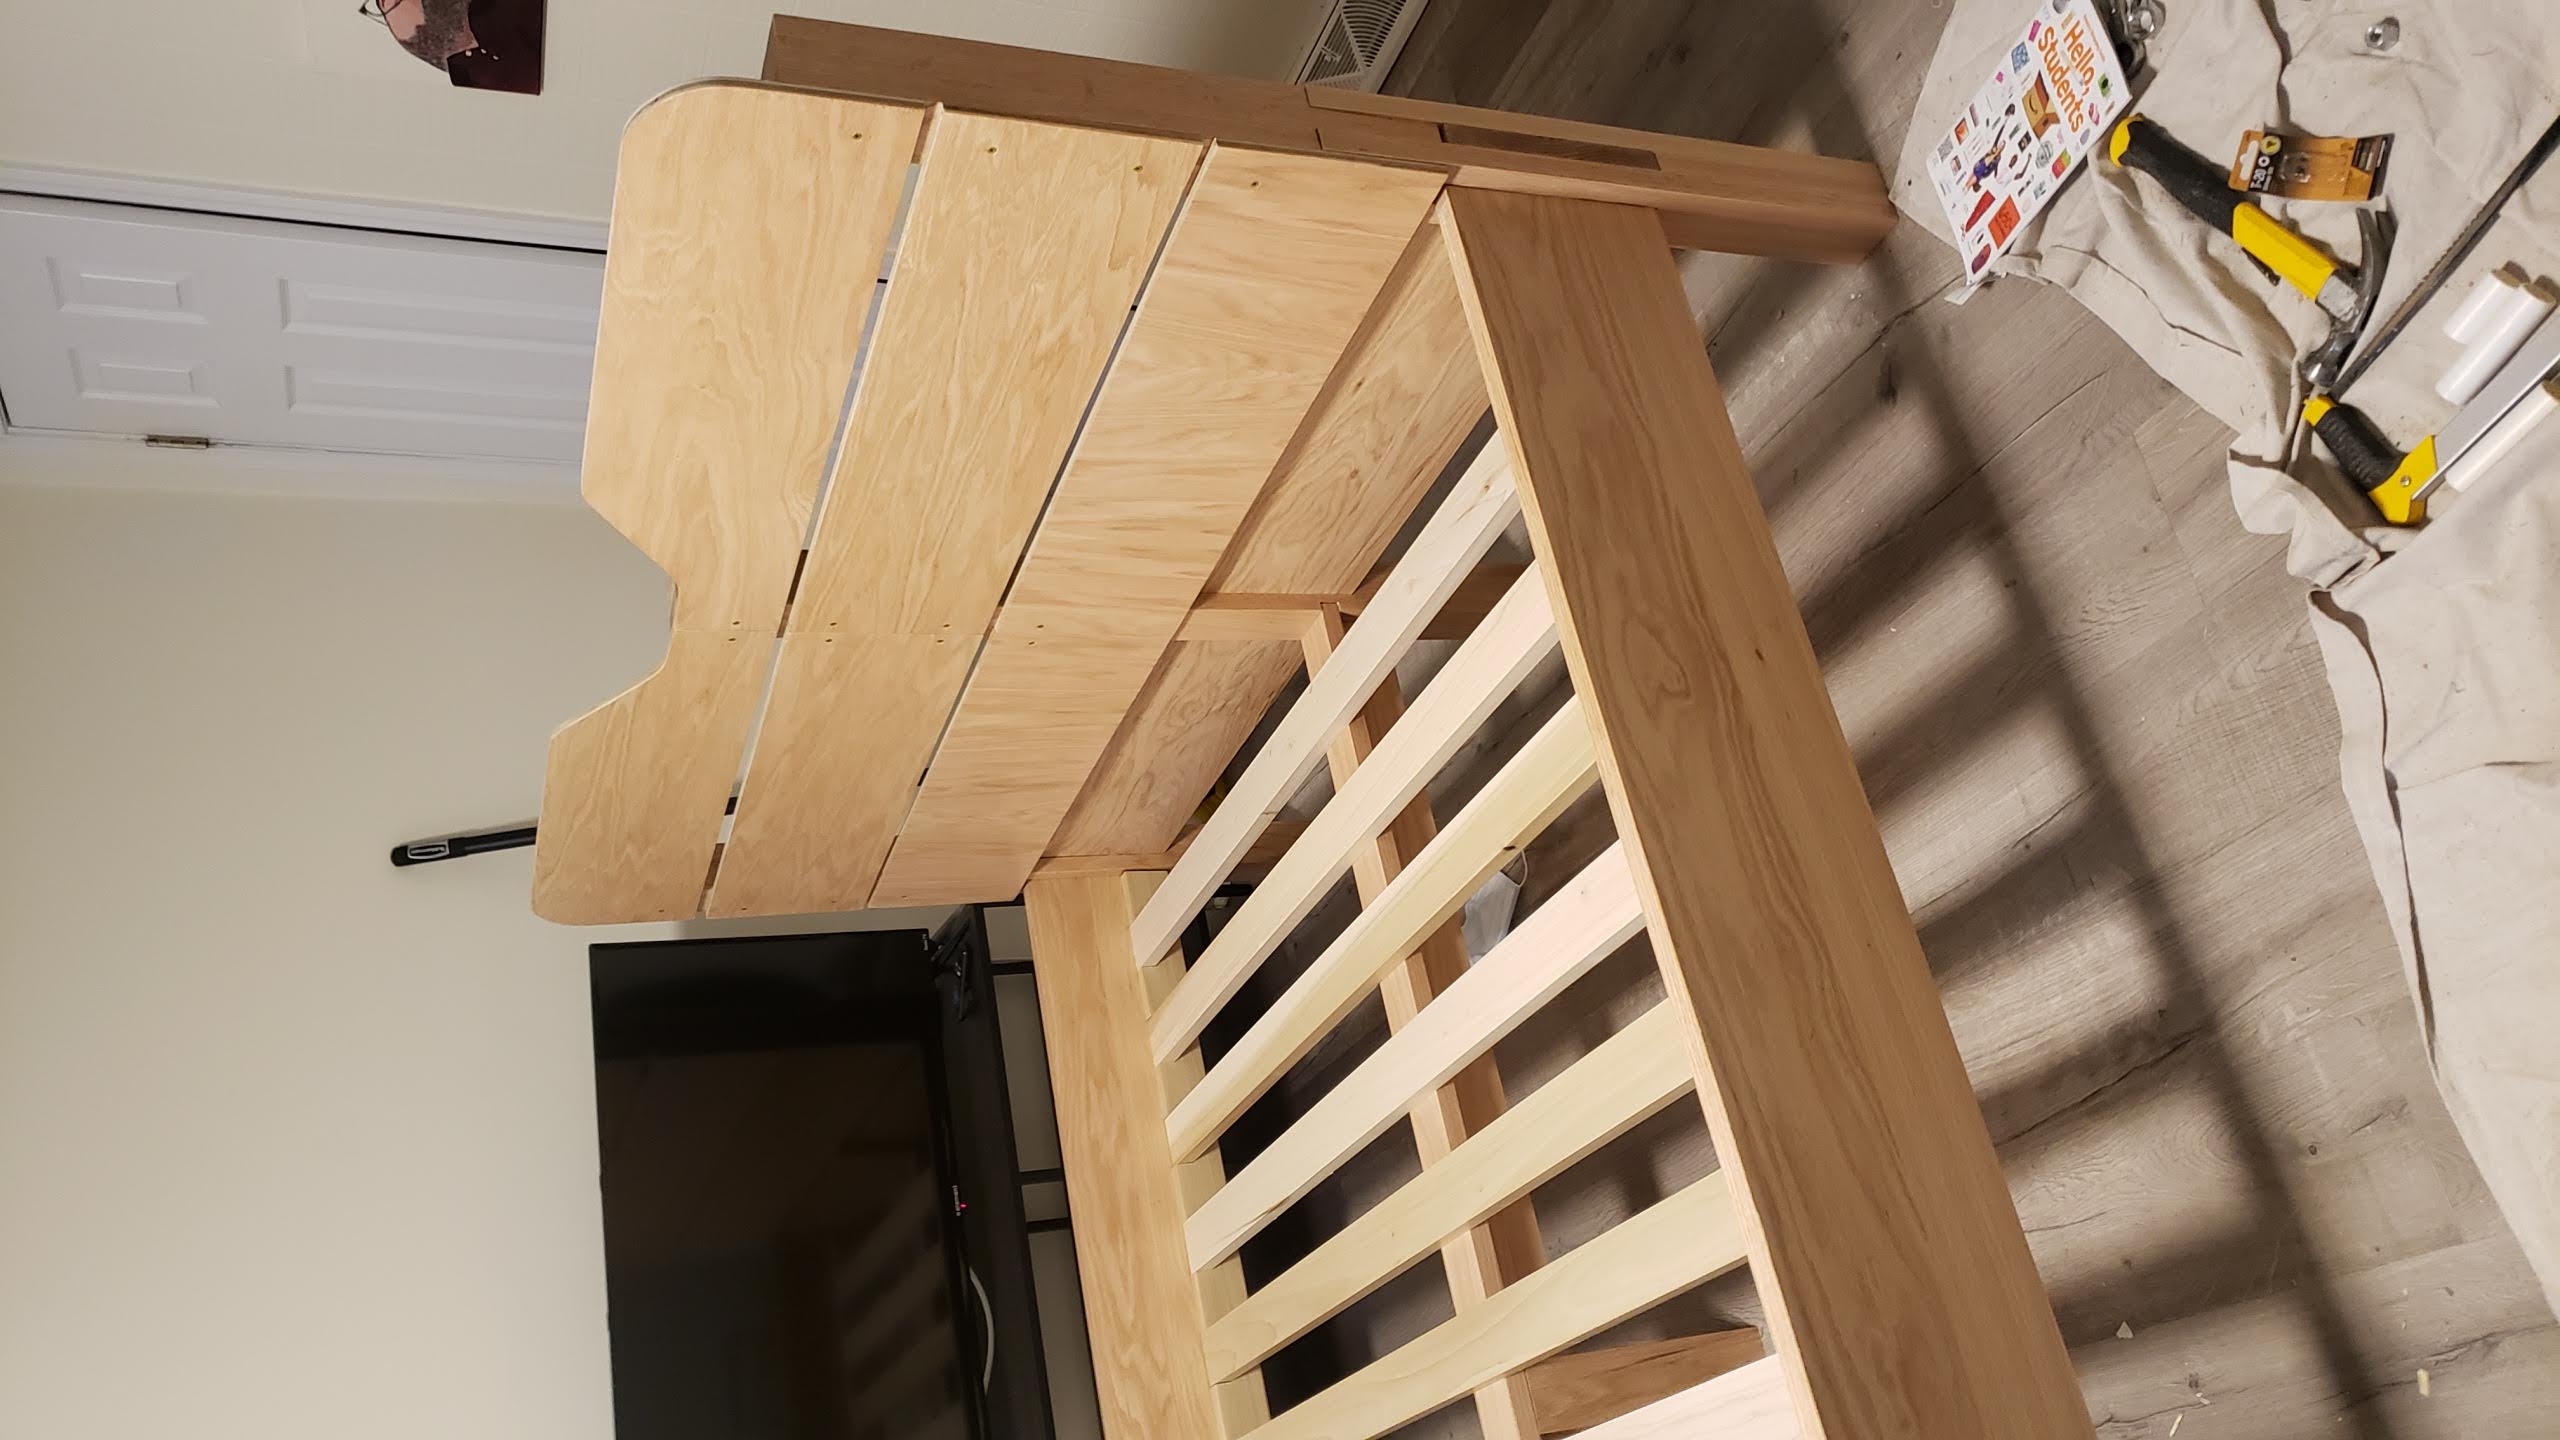 |
and I had to move. So my first night in the bed would have to wait a week.
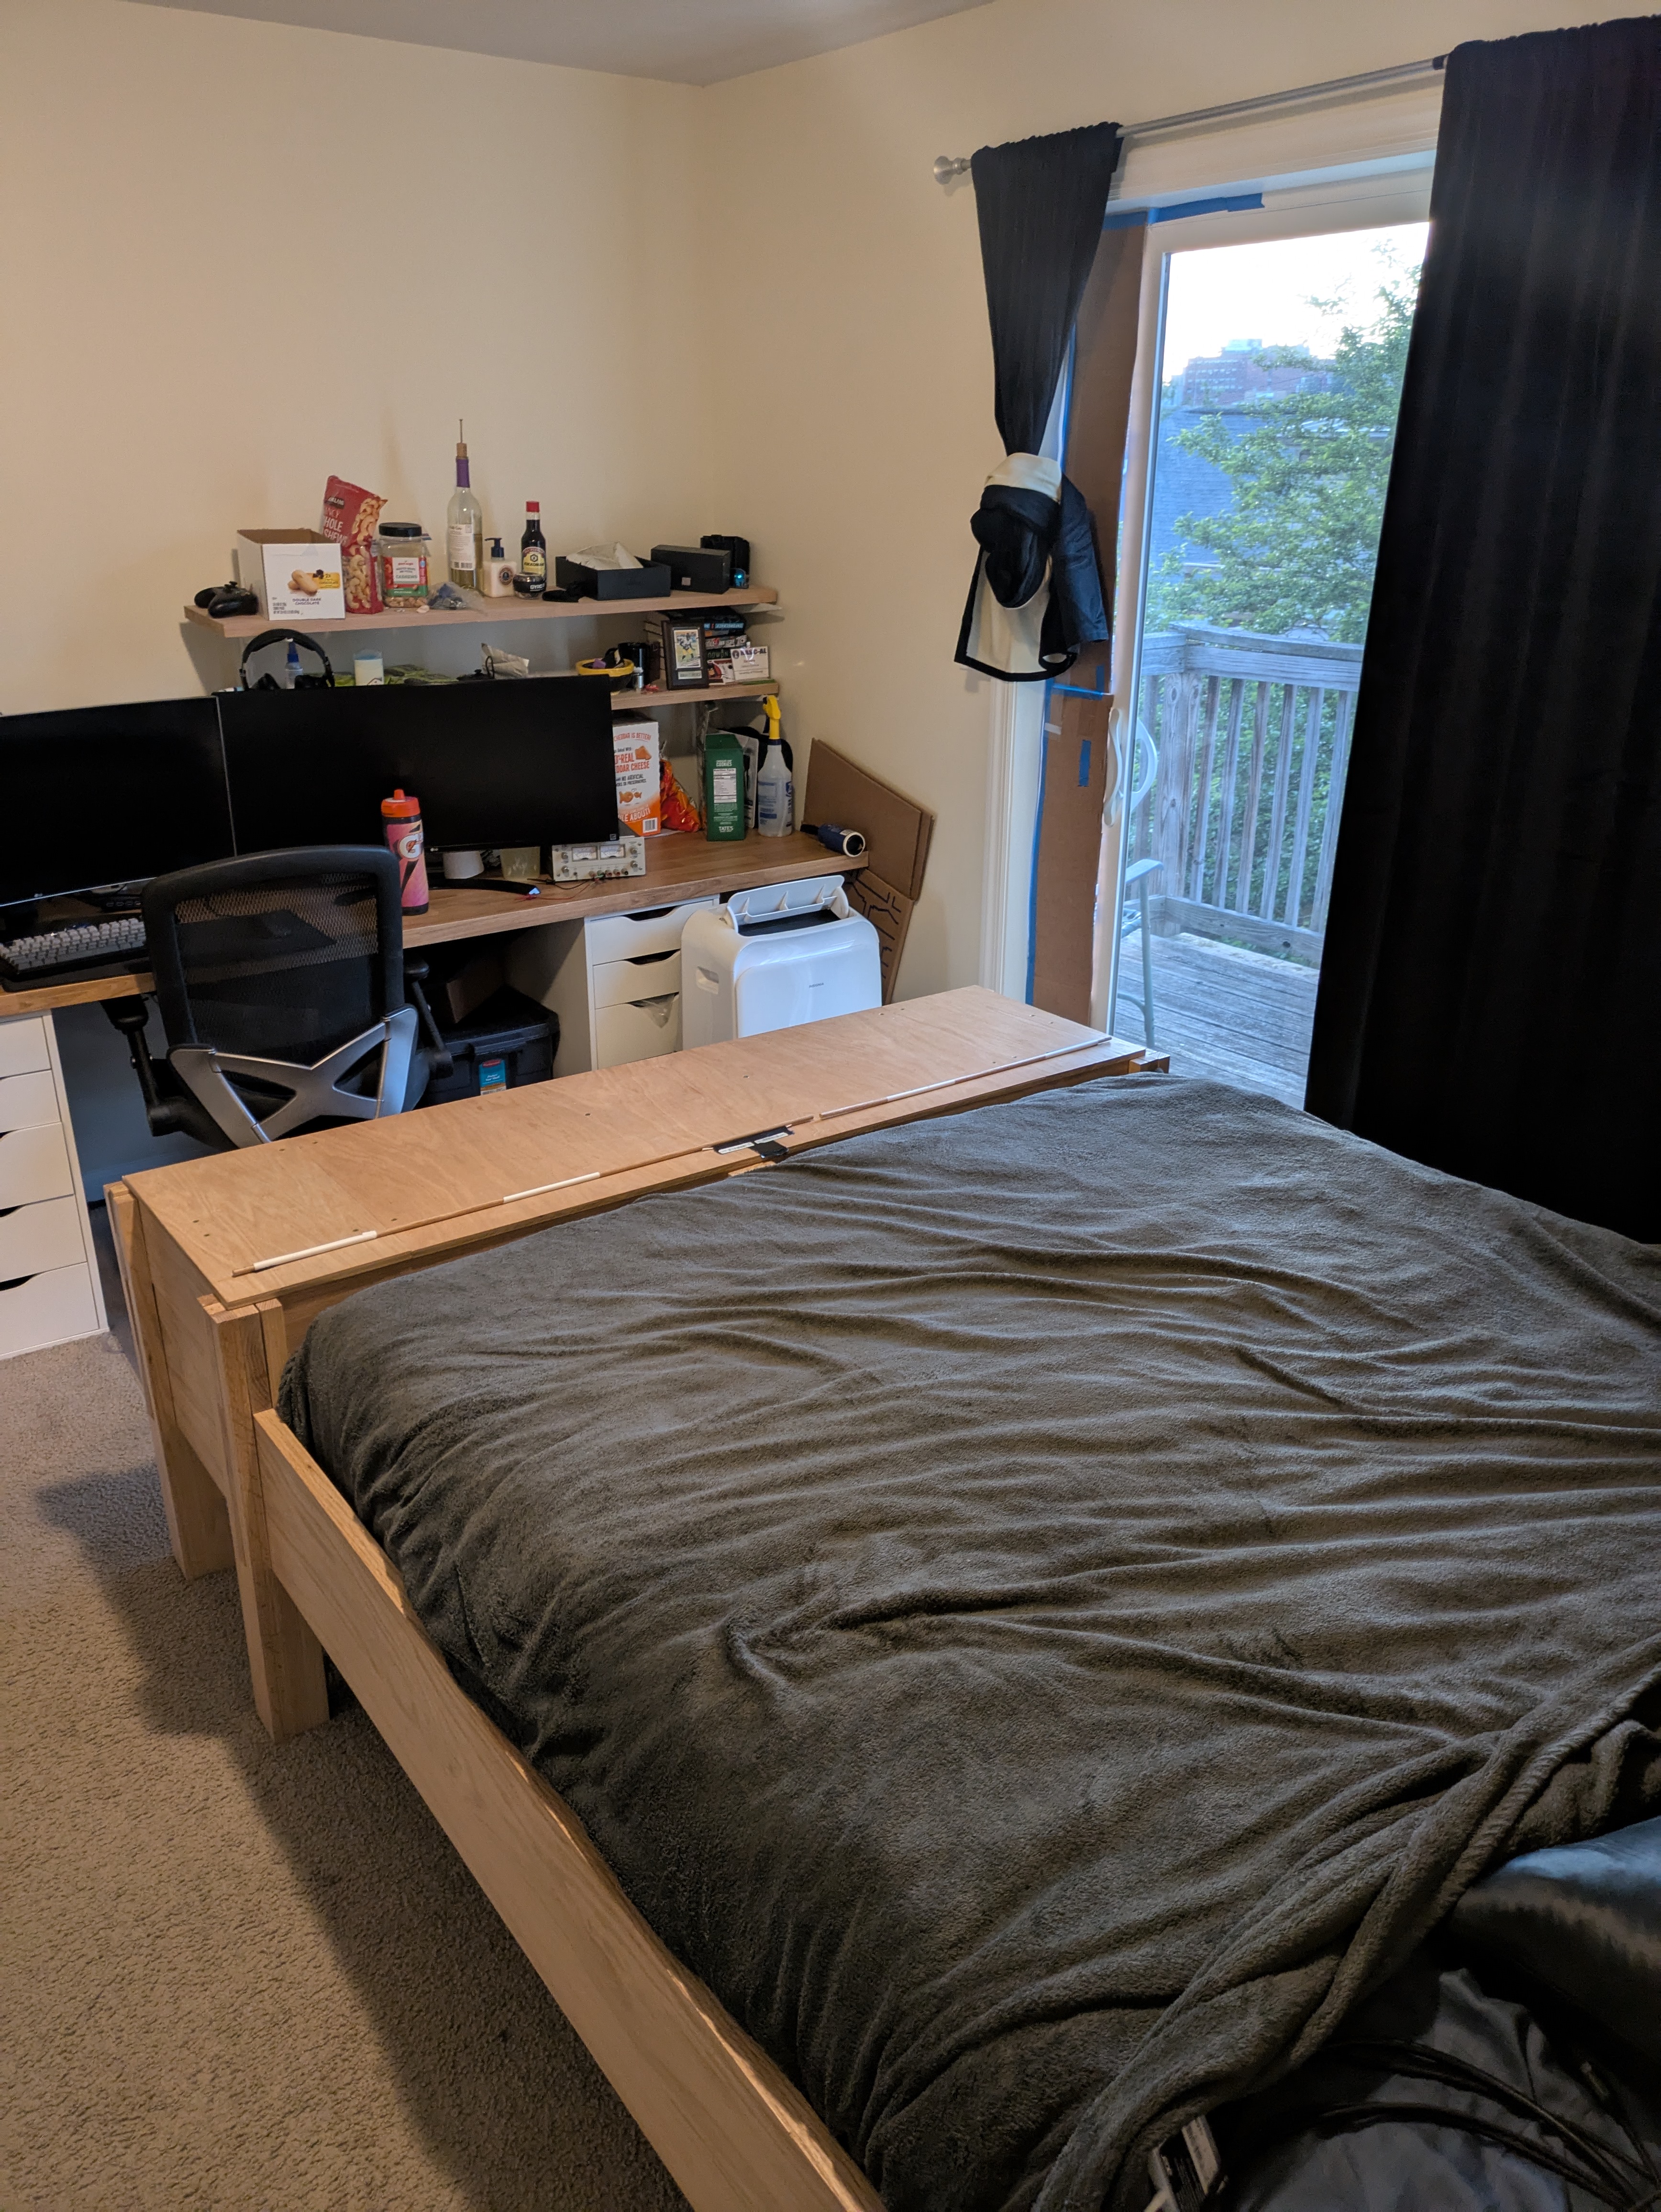

TheWrappingIsWeirdSoHere’sAnEasterEgg
Now it’s finally all set up and I’m happy with it, it’s comfy, cool and, watching Knicks games on it is an incredible experience.